
I recently bumped into NodeMCU firmware for the ESP8266. It’s an Lua interpreter, making tinkering with IoT ideas really simple. Just flash the firmware onto the ESP8266 and connect via serial console. You can start prototyping right away using the interactive Lua interpreter. You can easily persist your ideas on a simple flash file system.
print(wifi.sta.getip())
--nil
wifi.setmode(wifi.STATION)
wifi.sta.config("SSID","password")
print(wifi.sta.getip())
--192.168.13.101
For convenient development, there is ESPlorer, a basic IDE for Lua on the NodeMCU. It allows you to develop the Lua scripts locally and then save them to the MCU via serial protocol.
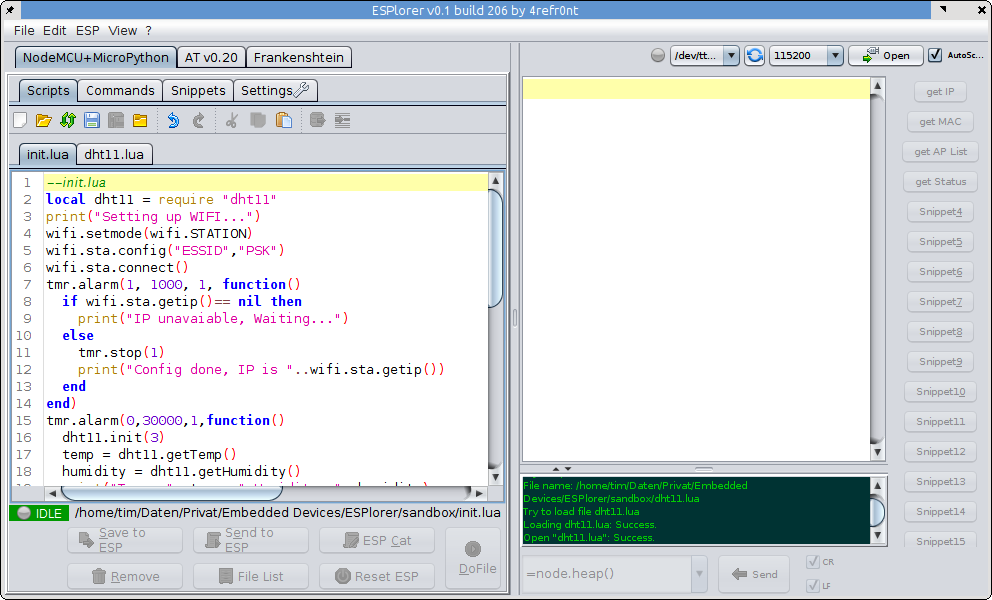
To make developing with the ESP-01 module easier, I created a basic development board. It provides easier access to the individual pins, has jumpers for flashing mode (GPIO00) and enable (CH_PD), offers a button for reset, and also integrates a socket for a step-down power supply.
Although NodeMCU provides access to the deep-sleep mode of the ESP8266
node.dsleep(microSecs);
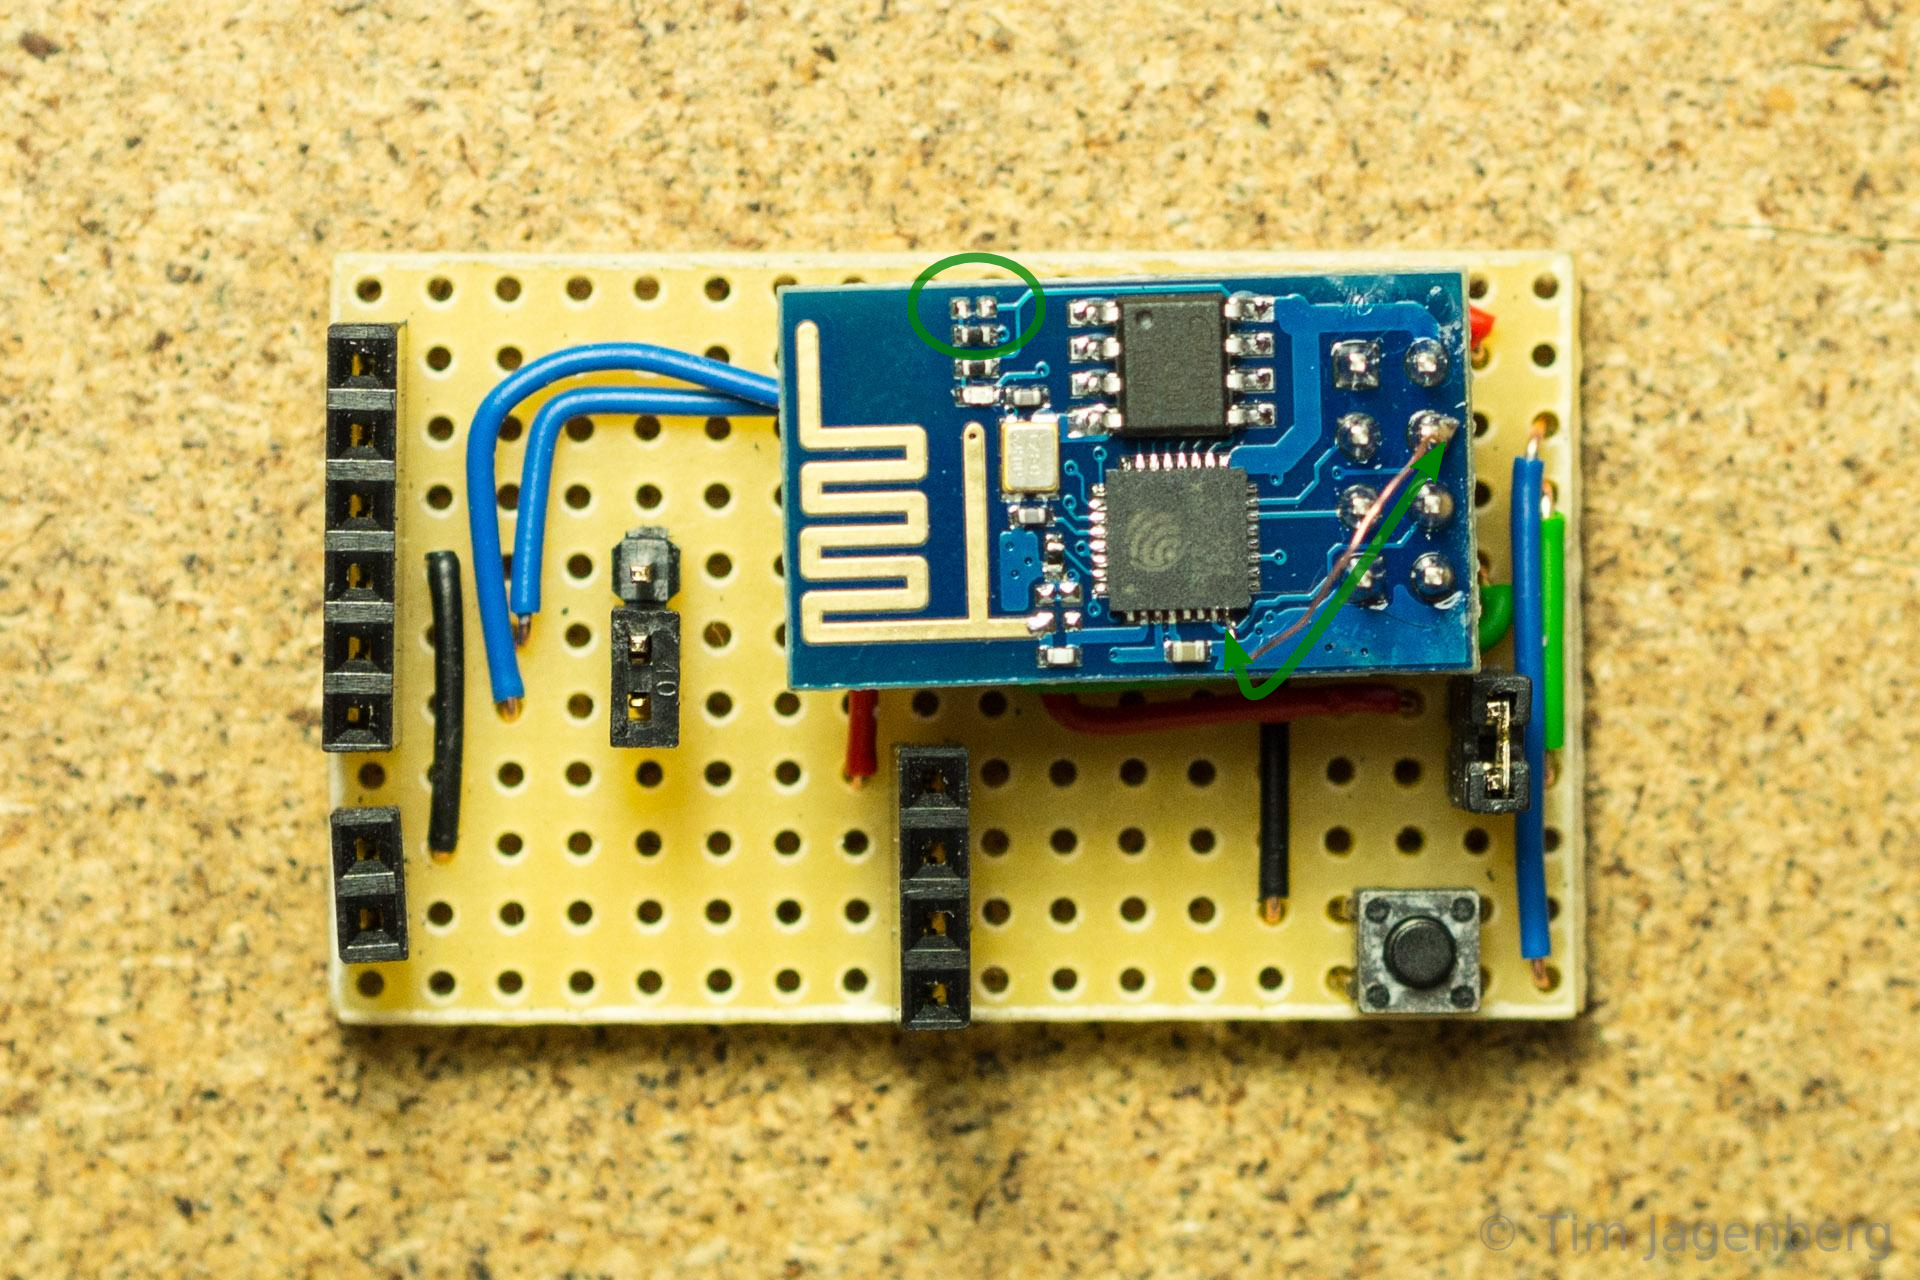
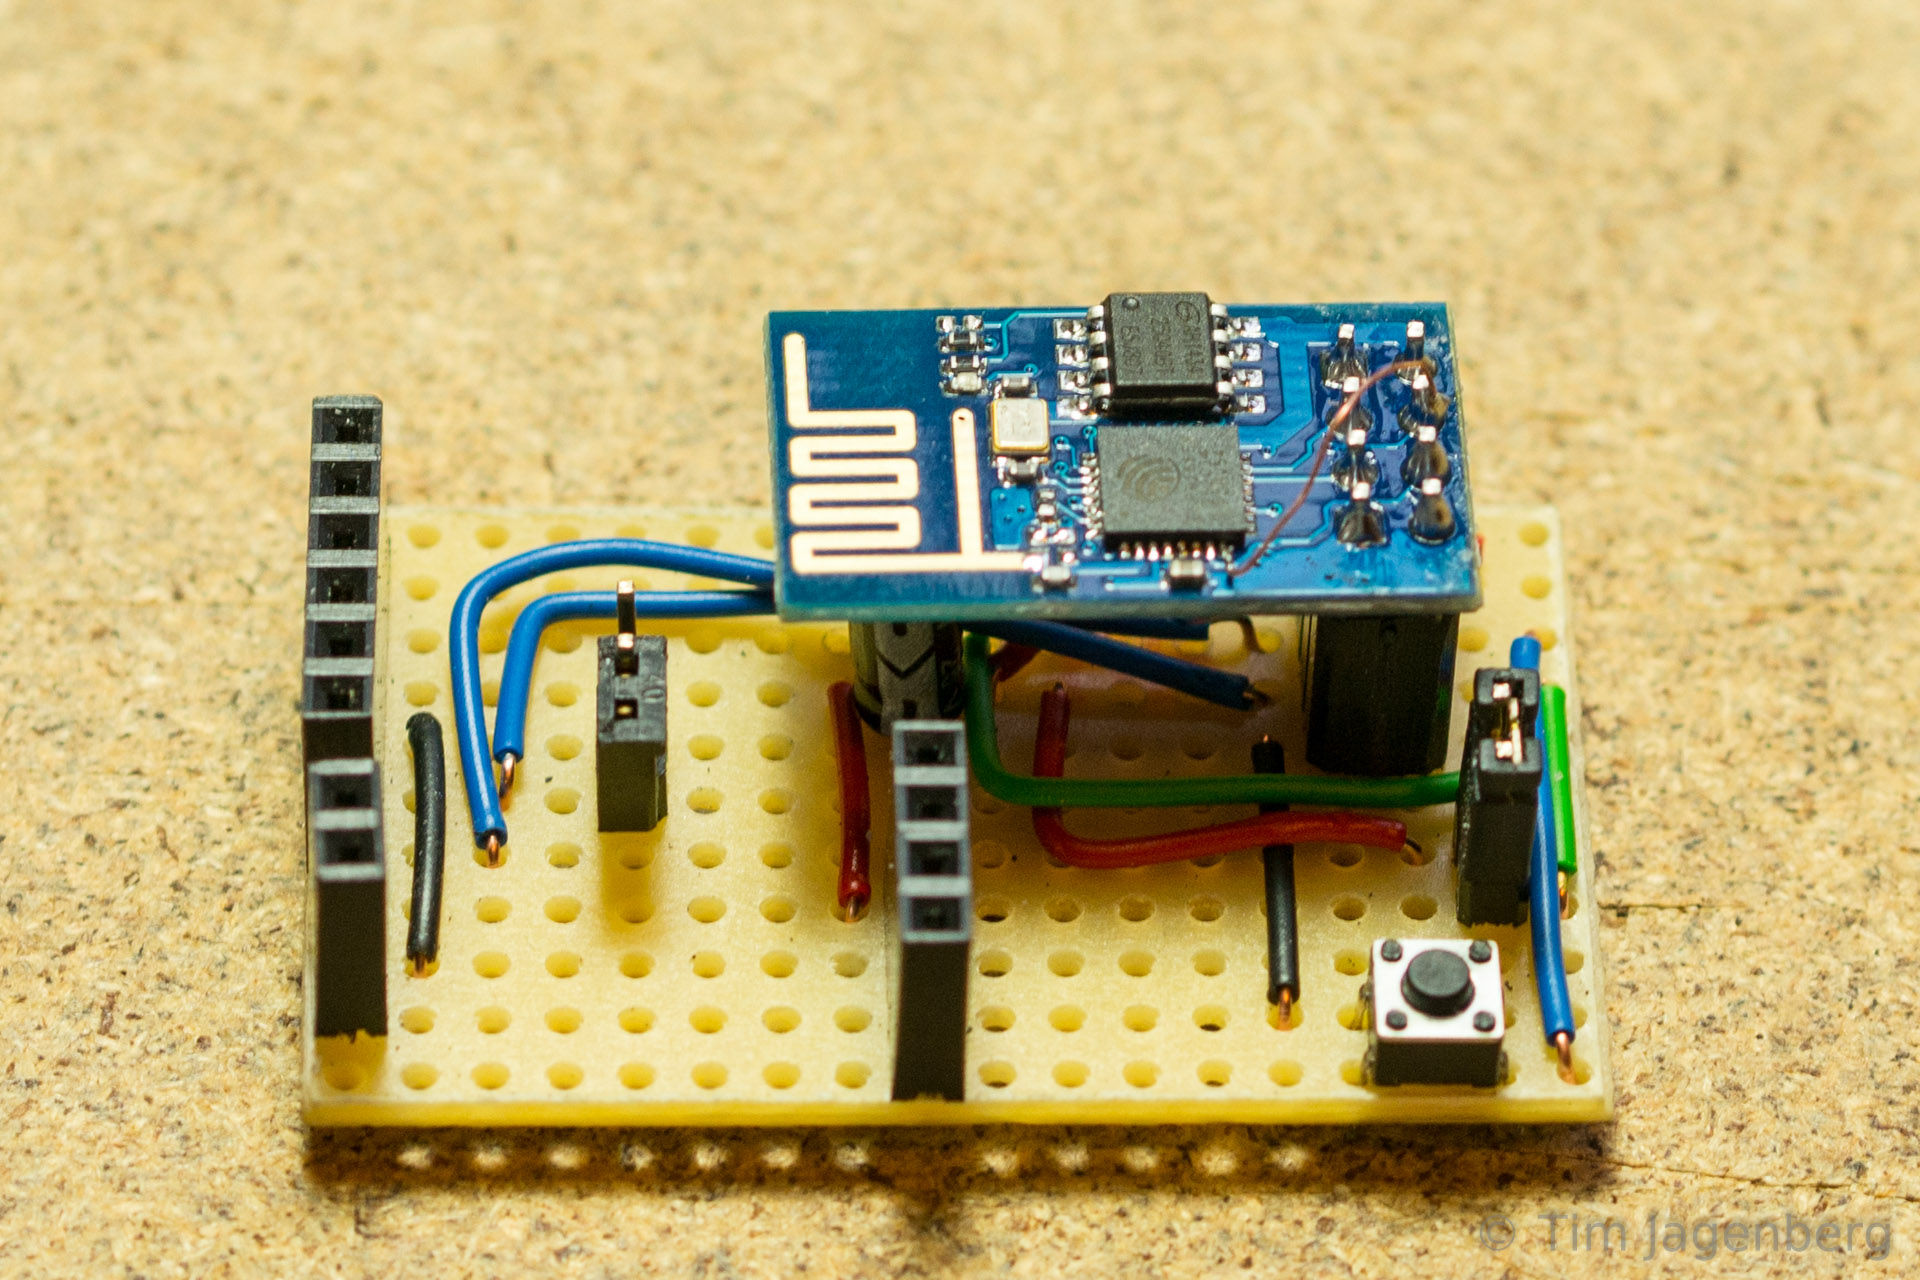
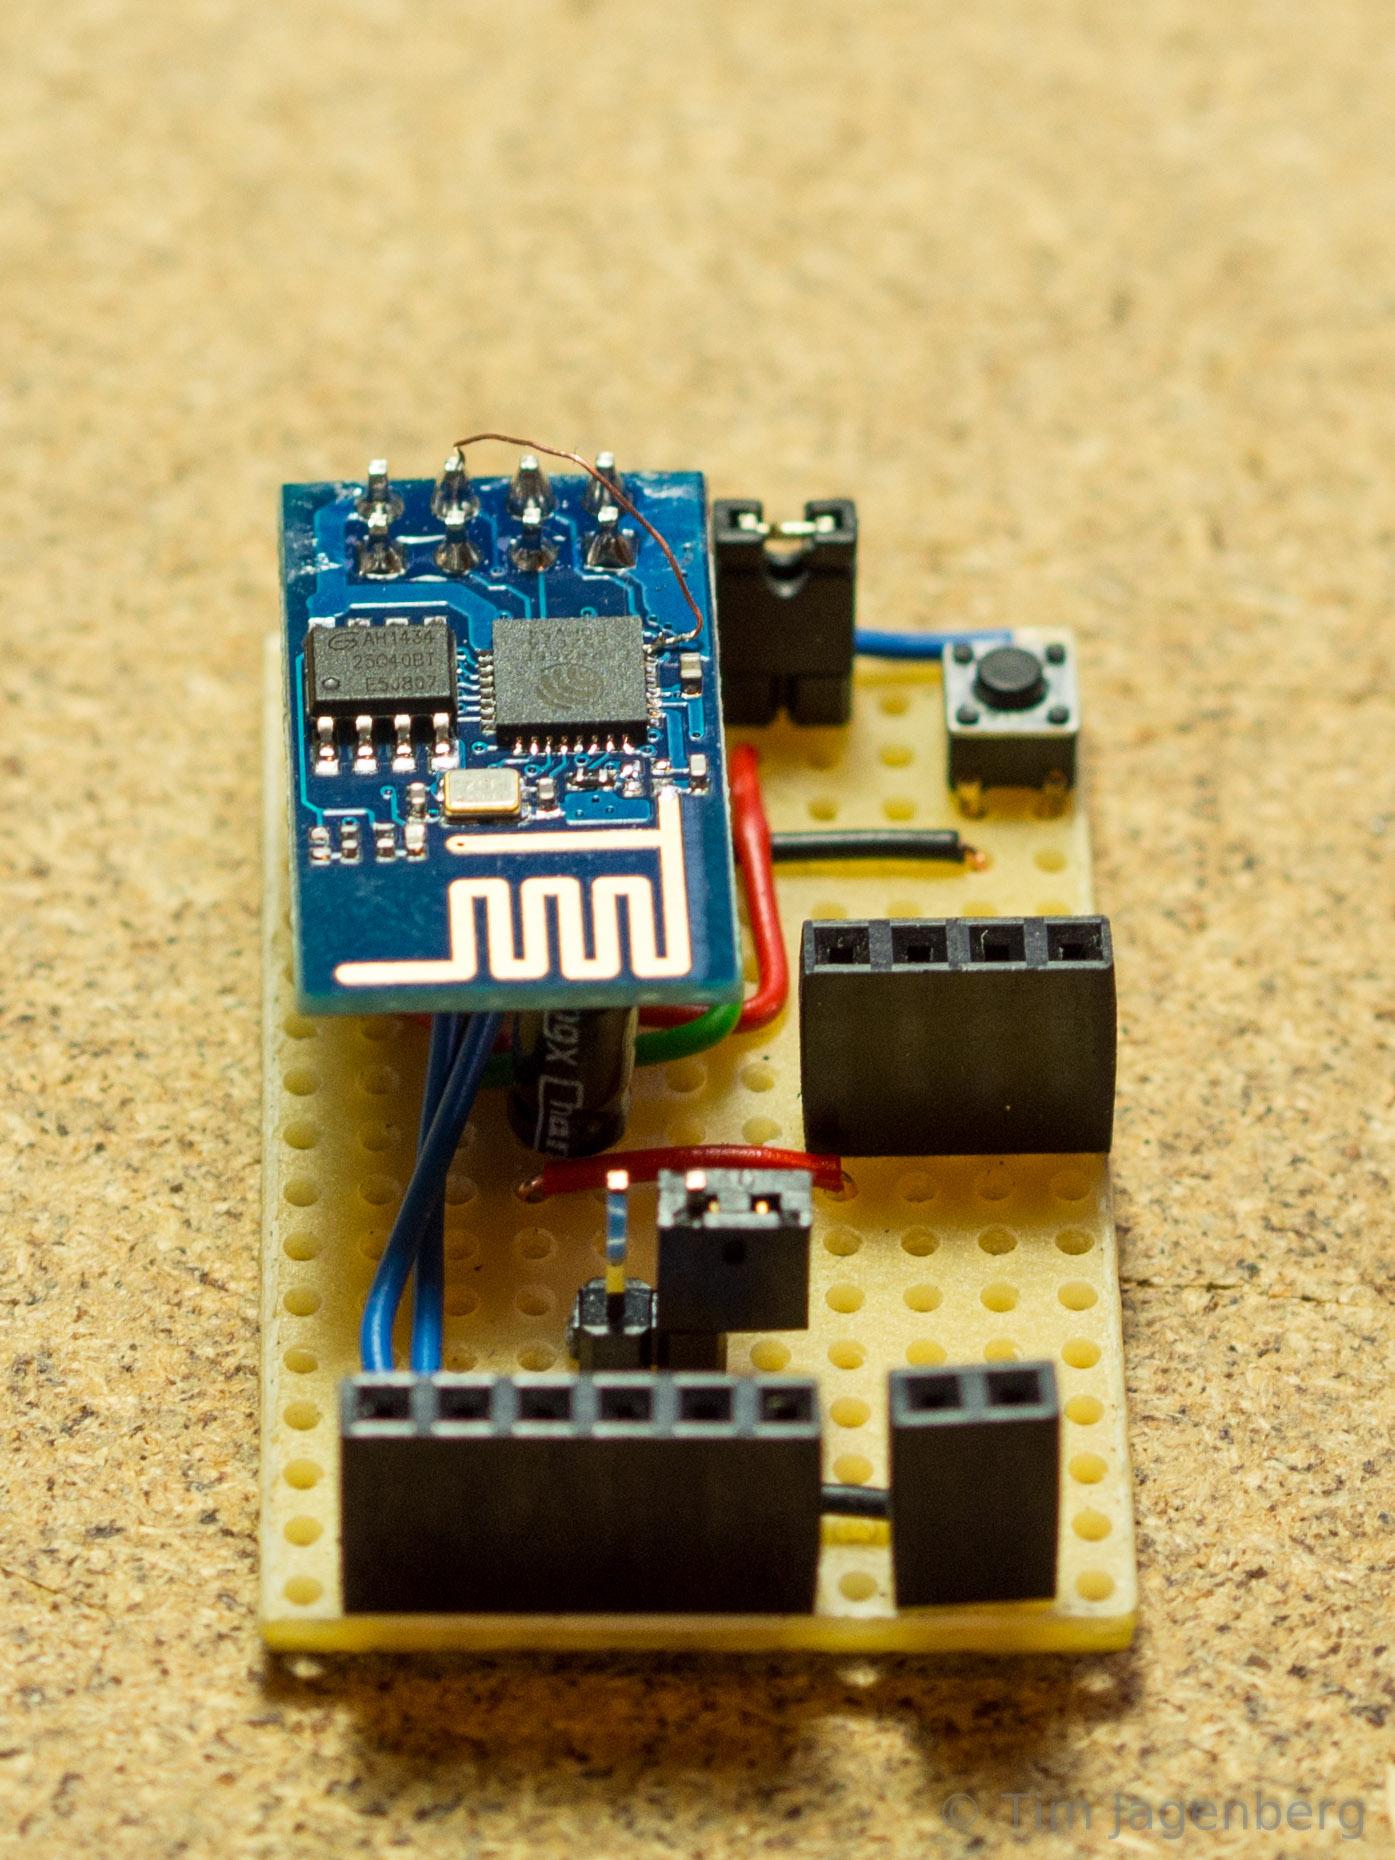
this is not available straight away on the ESP-01 module, as the ‘post-sleep-reset-pin’ XPD_DCDC (8) of the MCU is not connected to the reset pin. I solved this by manually soldering a single wire of a stranded cable between the reset pin of the module and the XPD_DCDC (8) pin of the MCU (bottom right corner of the mcu in the first photo). On top of this, I also removed the red power LED by simply prying it off with a tiny screw driver.
With these two modifications, the module is able to make use of the deep-sleep mode and successfully resets and restarts after waking.
During deep sleep the module now uses just 78 microAmps! On two normal AA batteries with 2600mAh, that’s good for well over 3 years!
Update 2015-04-12:
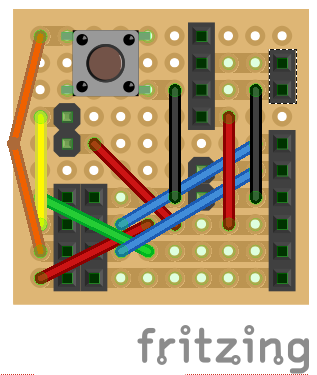
Due to frequent questions about the Fritzing file or schematics, I uploaded the Fritzing file:
ESP-01_ESP8266_Board.fzz
(if the file extension gets mixed up, apply .fzz manually)
Update 2015-11-18:
Marv Marvelous over at http://blog.grafovision.sk/ translated this article into Slovak. Thanks Marv!
Thanks a lot for this hack!
I just wanted to add that if you solder the wire, but leave the LED on the board, deep sleep works correctly…but the red LED keeps glowing (which of course wastes power).
By the way, have you managed to draw any detailed schematic that shows exactly what ESP8266 pin is connected to what ESP-01 pin and LED? (like this one for the ESP-12E: http://www.esp8266.com/wiki/lib/exe/fetch.php?media=schematic_esp-12e.png) It would be some extra useful help, and would give me extra confidence before removing the LED for ever.
Oops, I did not see there were comments already. So my experience about the LED is nothing new 😀
However, if you had any advice about precise schematics, I’d be glad to hear it!
Thanks
Instead of trailing a wire across the pins like that why not go from pin to pin on the chip itself? The reset pin is at the next corner clockwise in the same position – just as easy to solder as the sleep exit pin – so your wire just goes across the top of the chip instead. Much tidier and less prone to short circuits.