Trondheim Maker Faire 2014 was great!

Thanks to all those organisers who made this awesome event possible!

After we set up our stand in the morning, we were busy until the very end. There was constant buzz of kids around, who wanted to try the ROV and steer it into one of the bucket-caves we set up in the pool. Just around closing time a managed to have a quick tour of the other stands. So nice to see all this creativity around, reminds me of the Chaos Communication Camp in 2011.
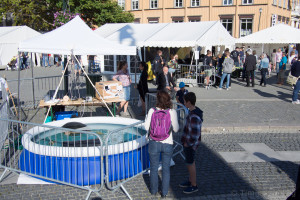
Our Stand at the Maker Faire Trondheim 2014 Our Pool
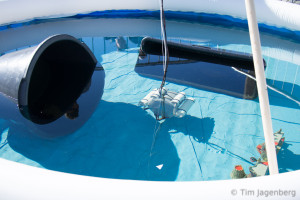
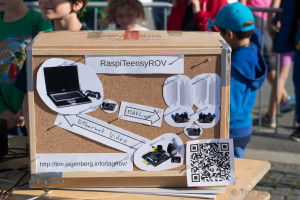
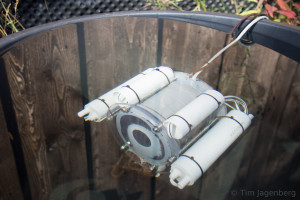
RaspiTeensyROV in the Pool RaspiTeensyROV "Schematics"

Heading out to the after-party now 🙂

PS: talking about the Chaos Communication Camp, who from Trondheim region would be interested in going there next year? I set up an etherpad here: https://pad.fnordig.de/p/trdccc15

Getting ready for the Trondheim Maker Faire

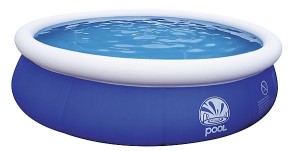
Last preparations for the upcoming Trondheim Maker Faire 2014. In order to display the Raspberry Pi / Teensy 3.1 based submersible ROV, I bought a used 3m diameter inflatable pool. This should give us enough space to demonstrate the little buddy.

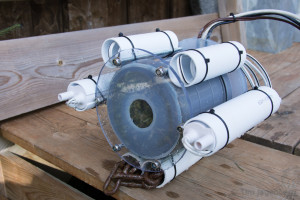
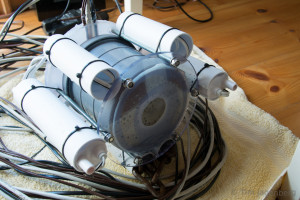
The ROV got a slight face-lift by adding proper motor-pods and casings for the cables. The ballast stones tied to the bottom got replaced by a rusty old chain in casings. Better solution pending …

RaspiTeensyROV under Water RaspiTeensyROV - front RaspiTeensyROV after Test Clas Ohlson Pool (3m)

See you at the Trondheim Maker Faire booth 10a: Map of the Faire

Submersible ROV for the Trondheim Maker Faire 2014

For the Maker Faire coming to Trondheim later this month, I’m currently building a simple submersible remotely operated vehicle. The concept is based on a plumbing tube used for the housing and submersible electric pumps as motors. A Raspberry Pi with Camera Module will deliver the live video feed via ethernet cable. The remote control is managed via a serial link to a Teensy 3.1 with sensors and motor controllers. The communication will be implemented using MAVLink, which enables the use of the QGroundControl station.
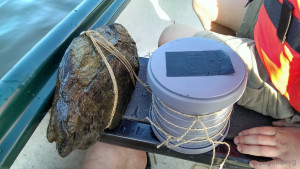
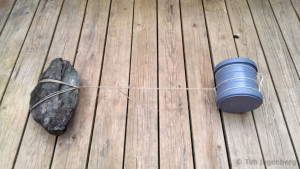
Outer Housing - Testing Outer Housing - with Ballast

After initially testing whether the tube could sustain the pressure at up to 12m water depth, pieces are now falling into place. The serial communication via MAVLink works and just needs a little performance tweaking. It can transmit the manual controls from a game-pad down to the ROV controller and the telemetry back up to the ground station. Telemetry data consists of air-pressure and temperature in the body (MPL115A2) as well as orientation data gathered from the IMU/AHRS (MPU-9150). The ground station visualises the temperature and pressure as line-graphs and uses the orientation information for an artificial horizon.
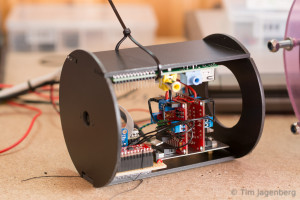
Inner Housing - View on Motor Controllers Inner Housing - View on PiCam and Raspberry Pi

The plumbing tube of the housing is sealed with two acrylic-glass windows. One 6mm one in front of the camera and three 4mm layers in the rear end. The three layers form tunnels for the cables going out to the motors and up to the ground control station. I hope with plenty of silicone this will be water tight.
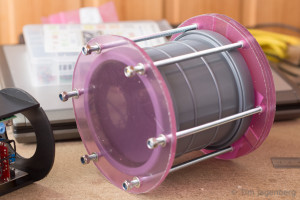
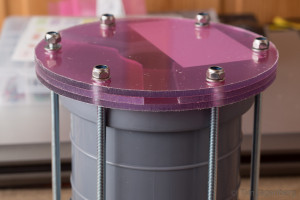
Outer Housing - Frontview Outer Casing - Channels in the Backplate

If anyone has a good idea how to set up a basin/pool to demonstrate the ROV in, let me know.
Four weeks to go! 🙂