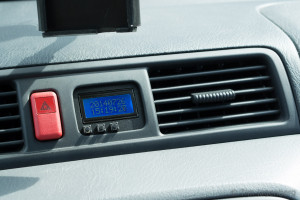
As the dashboard clock of my car failed recently, I was looking for a replacement.
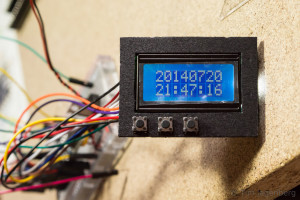
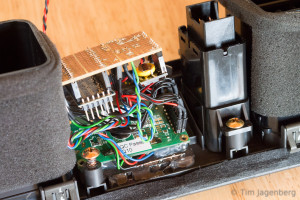
Instead of buying an original part, I opted for a DIY solution based on a cheap Arduino Pro Mini 328, a mini real-time-clock (RTC) module, and a 8×2 LCD display:
The Arduino and the RTC module talk via I2C and the LCD uses a 4bit wide parallel interface. The LCD backlight can be switched between two intensities. It is wired to two Arduino pins at the same time, one directly and the other via a 1k resistor. The LCD draw less then 40mA. As shorting two pins can be rather dangerous for the MCU, the software needs to ensure that the inactive pin is set to high-impedance input mode before the other one is set active.
The initial firmware implements setting the time and manual dimming for the night. As the car-connector also offers a 12V wire indicating when the main-lights are turned on, I could add automatic dimming later on.


