Smart-Greenhouse

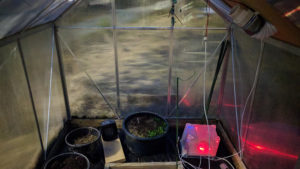
I’m working on my DIY Smart Greenhouse …

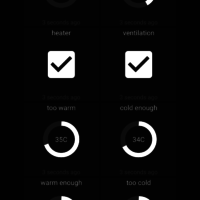
  • Automated heater control, ? check
  • Automated ventilation control, ? check
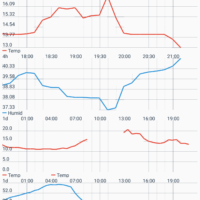
  • Remote monitoring and configuration, ? check


Now that the greenhouse has a comfortably controlled atmosphere, it is time to move the tomatoes and chillies outside and into their new smart home. I prepared the earth and filled the pots, now it is time that the first plants follow.


12V to USB Charging Converter

After the USB charging converter for my headlight battery packs worked really well last weekend (I got two full charges from one battery pack), I decided to quickly implement a simple 12V to USB charging hack I had in mind for quite some time.

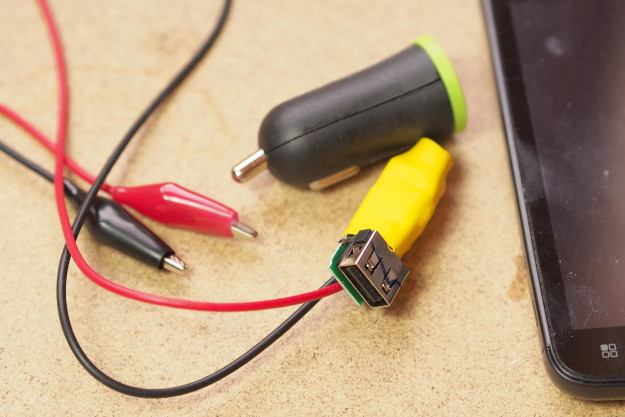
On one of the recent hikes between huts I realised that some of the huts in Norway have solar panel powered 12V power supply. I’ve had a spare car-cigarette-lighter to USB adapter for quite some time and decided to replace the plug with generic crocodile clamps which are more versatile. With these new contacts, I can now attach to any 12V source to recharge USB appliances. For a little protection, I secured the leads with hot glue and covered the circuit board with a bit of yellow shrink tube.

12V to USB Charging Adapter

Headlight-Battery Phone Charging Adapter

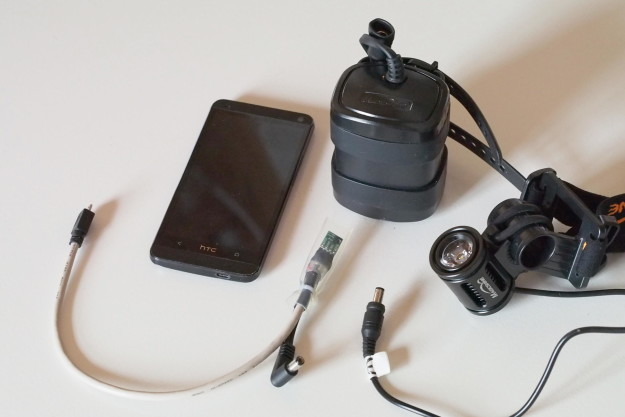
As I’m heading out for a three day snow-shoe hike with friends tomorrow, I quickly hacked an adapter which enables me to charge my phone from my headlight LiPo batteries. This way I don’t need an additional backup for my phone.

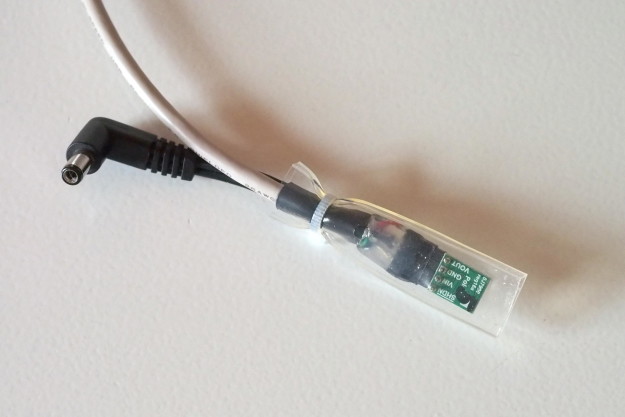
In one of my junk-boxes I found a 5.5mm plug which matches the batteries. For the phone end I simply cut some left-over micro-USB cable. I wired it all up with a 5V 500mA Step-Down Voltage Regulator from Pololu and insulated my beautiful soldering job with heaps of hot glue and a silicone cover from an LED strip 😀

DIY Headlight-Battery Phone Charger

Drone King of the Hill

The recent Hak5 episode 1903 inspired me to build a King of the Hill version for quadcopters. Shannon and Darren talked about their acrylic drone-fighting cage, the last-man-standing matches they had, and their future plans including a version of king of the hill.

Since then, I’ve been working on my own implementation of the king of the hill idea based on an old ADJD-S311 Color Light Sensor Evaluation Board from Sparkfun which I still had lying around. Combined with an Pololu A-Star 32U4 Micro for the brains, a single button for input, and an LPD8806 based RGB-LED-strip from Adafruit for output, this made a pretty nice tinkering project.
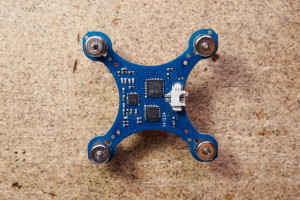
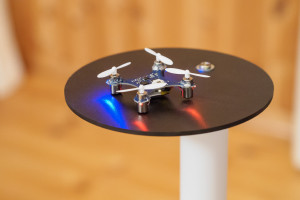
Micro Quadcopter Micro Quadrcopter on Platform

The micro quadcopters are split into 2 to 4 teams and are marked with differently coloured stickers at the bottom (red, green, blue, yellow).
The light sensor in the centre of the platform is initially passive and set to maximum sensitivity. In combination with ambient light, the A-Star Micro can detect whether the sensor is covered or not. As soon as it detects that the sensor is covered, it is set to active mode. It then evaluates reflected light using a white LED and a lower sensitivity setting. Based on the measured rgb-colour, ‘the brains’ decide which team the drone on the platform belongs to.
After a team covered the sensor for 3 seconds to win a point, the platform needs to be cleared for 5 seconds before another winning point can be gained.
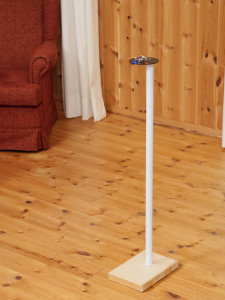
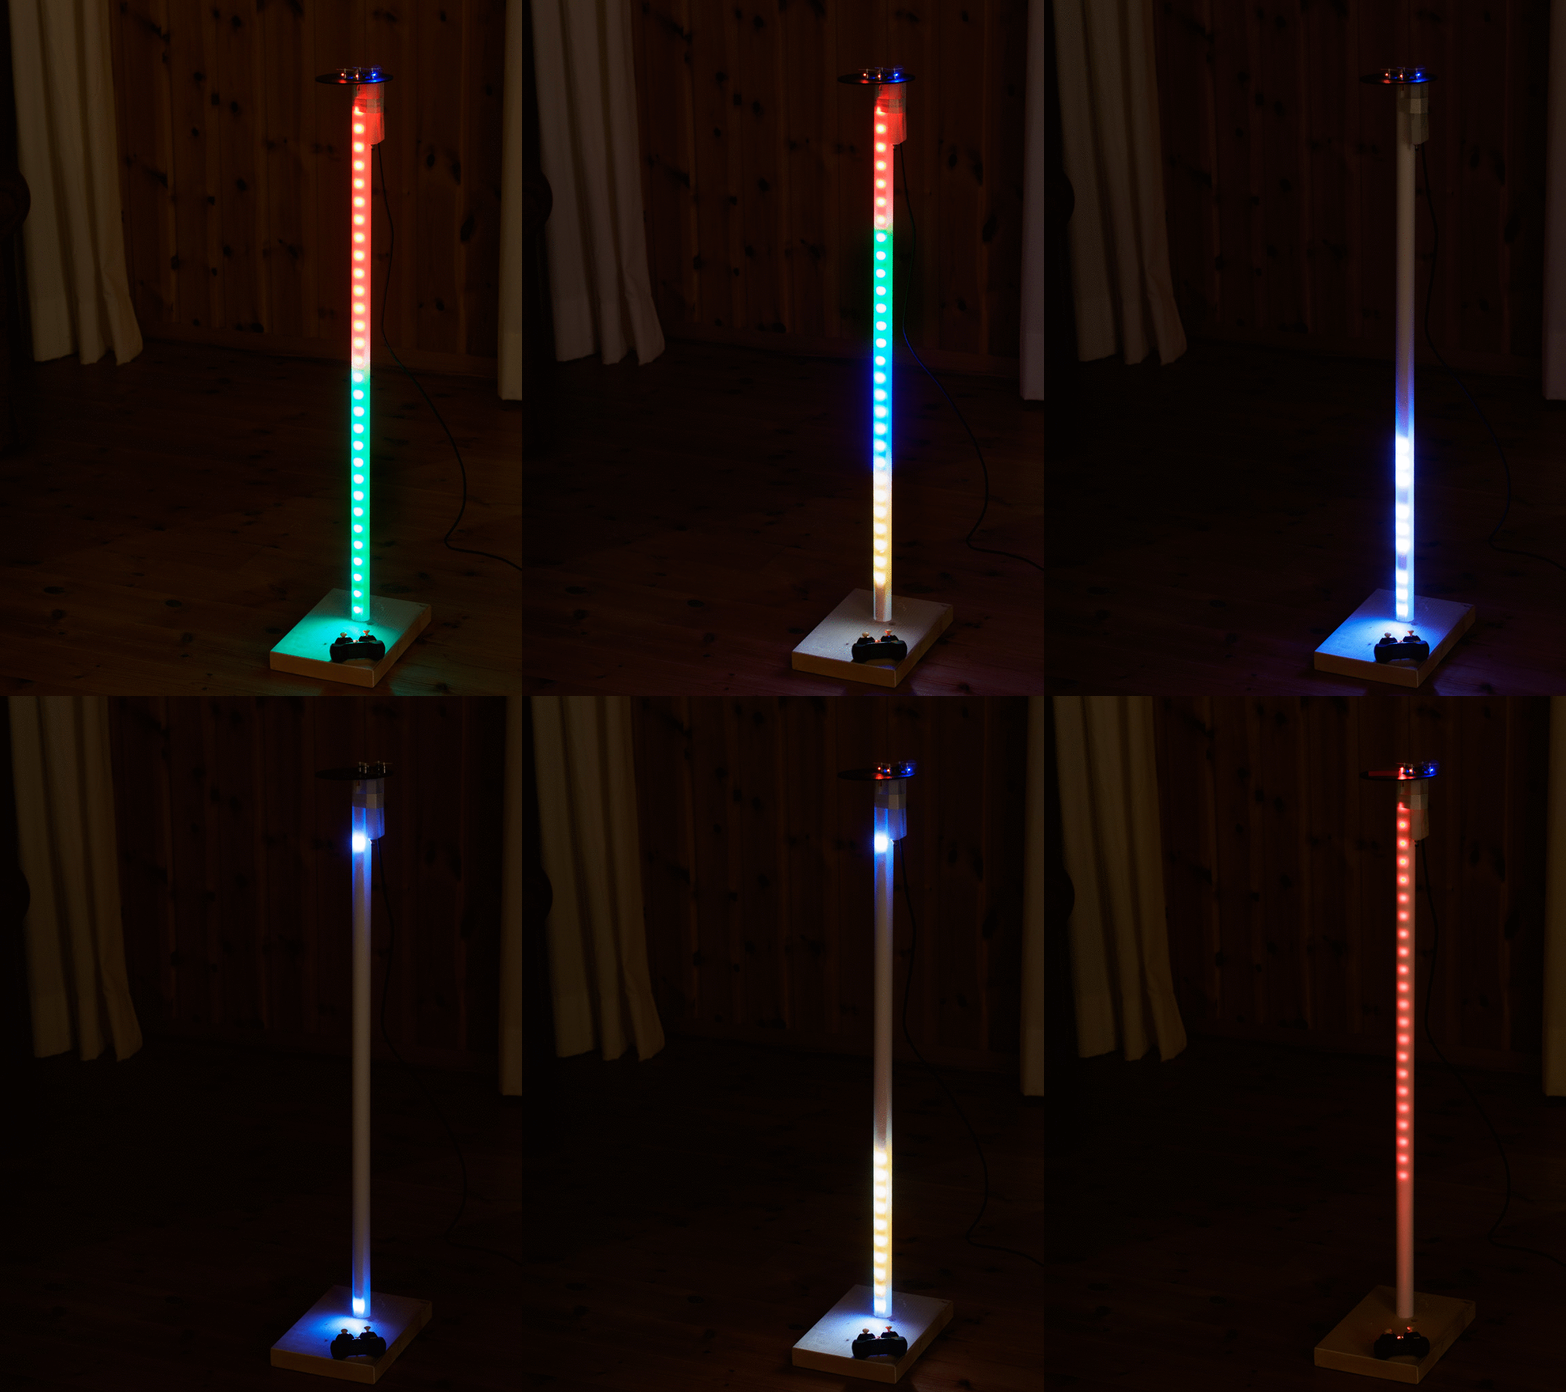
Drone King of the Hill Game   Drone King of the Hill Game (animated)

The game play is set-up using the single button. First the number of teams is shown using the LEDs in the vertical stand. Clicking the button iterates between 2, 3, or 4 teams with different colours. After a long-click, the number of winning points are selected. Again by clicking the button 1, 3, 5, or 7 winning points can be selected. The game starts after another long-click with the progress being displayed on the vertical bar. As only a single LED strip is used, additive colour mixing occurs between the teams. The game continues until one of the teams achieves the necessary number of points, upon which the winning team’s colour flashes along the bar in ‘knight rider’ fashion.

Some friends from FIX, the local maker space, and I ordered a whole bunch of Eachine H8 Mini drones. Now we’re looking forward to some awesome team matches the space 🙂

The CAD models can be found at Onshape, a really interesting web-based CAD solution done by veterans of Solidworks. (log-in and search for ‘Drone King of the Hill’, couldn’t find a public link … still beta 😉 )
The source code can be found on GitHub and relies on the awesome cross-platform code builder and library manager PlatformIO.

Healthier Soldering

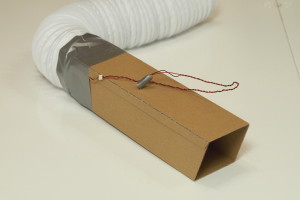
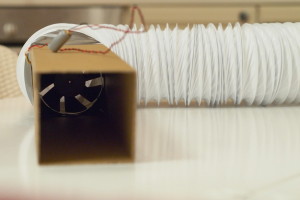
To get rid of the soldering fumes, I re-purposed one of the fans I salvaged from an old office printer:
Soldering Fume Extractor Soldering Fume Extractor - Fan

The fan is hot-glued into a card-board tube which also allows easy positioning of the fume extractor. The flexible tube attached to the end is long enough to reach out of the next window, so no fume filtering is needed.

This makes soldering way more comfortable, and during winter I can fill the window gaps around the exhaust tube with pillows. Smoke-free soldering without freezing! 😀

Open CAE-CAD-CAM tool chain for airplane design

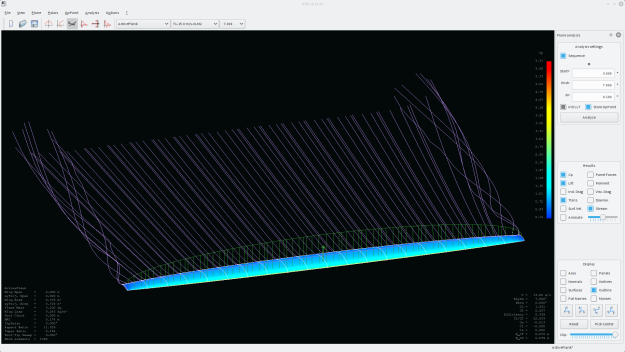
The last few days (with almost continuous rain outside), I was looking into open source software for airplane design again. It has been a while since I designed my last flying wing with XFoil and AVL, and WOW how things moved forward! With XFLR5 there is now a comfortable environment which integrates most of the functionality XFoil and AVL offer. It also includes really nice post-processing and visualisation.
XFLR5

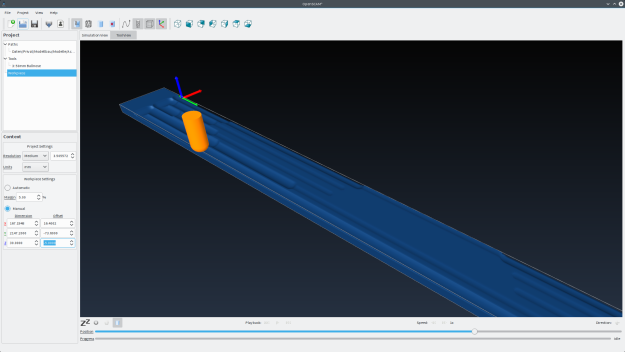
As I want to try the CNC router at the FIX Maker Space for cutting foam cores of wings, I needed a way to interface XFLR5 with CAD/CAM. Sadly it does not support direct export to any common file format. But I sat down yesterday night and wrote a translator from XFLR5 wing format to ASCII STL files: XFLR5-STL@github
Now I can import the generated STL file in MeshLabFreeCAD, PyCAM, or OpenSCAM for the next steps towards CNC routed foam cores 🙂
FreeCAD
OpenSCAM

Let’s see how that works out!

Re-purposing old Desktop as a Virtualisation Platform

After I recently upgraded my Desktop-PC with a new mainboard/CPU/memory/graphics combo, I had my old mainboard with a Core 2 Quad Q6600 processor and 4GB of RAM lying around.

GA-P35-DQ6 with Core 2 Quad Q6600 and 4GB mem

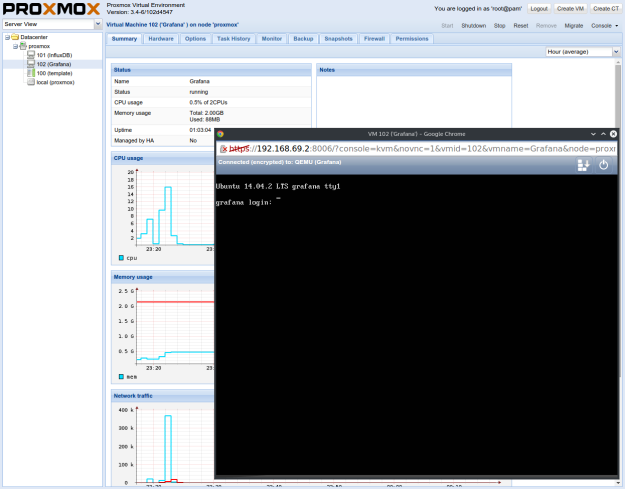
Adding a new power supply and a spare hard drive, I installed Proxmox, an open source virtualisation platform. It allows you to create and manage virtual machines via a convenient web interface. After setting everything up with the practical USB-stick installer, I removed the unneeded graphics card to conserve energy. With the default frequency governor ‘ondemand’, the CPU usually throttles down to 1.6GHz and the systems just draws about 50W without load. Using lm-sensors and fancontrol, I configured the CPU-fan to just run when needed, so the system is usually rather quiet.

Proxmox Virtualization Platform Web-UI

With the Ubuntu Server 14.04.2 template I created, setting up a new VM for some tests is really a breeze! Right now, I’m giving InfluxDB with Grafana a try for sensor data logging and visualisation.