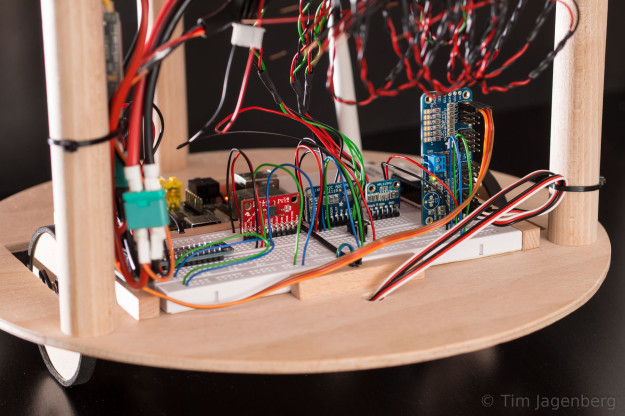
Submersible ROV for the Trondheim Maker Faire 2014

For the Maker Faire coming to Trondheim later this month, I’m currently building a simple submersible remotely operated vehicle. The concept is based on a plumbing tube used for the housing and submersible electric pumps as motors. A Raspberry Pi with Camera Module will deliver the live video feed via ethernet cable. The remote control is managed via a serial link to a Teensy 3.1 with sensors and motor controllers. The communication will be implemented using MAVLink, which enables the use of the QGroundControl station.
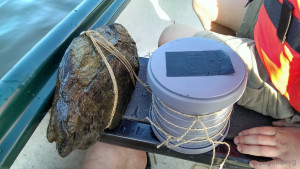
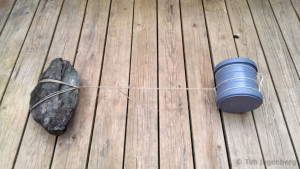
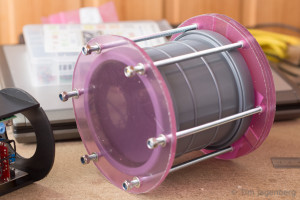
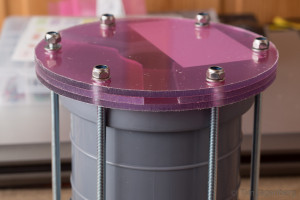
Outer Housing - Testing Outer Housing - with Ballast

After initially testing whether the tube could sustain the pressure at up to 12m water depth, pieces are now falling into place. The serial communication via MAVLink works and just needs a little performance tweaking. It can transmit the manual controls from a game-pad down to the ROV controller and the telemetry back up to the ground station. Telemetry data consists of air-pressure and temperature in the body (MPL115A2) as well as orientation data gathered from the IMU/AHRS (MPU-9150). The ground station visualises the temperature and pressure as line-graphs and uses the orientation information for an artificial horizon.

Inner Housing - View on Motor Controllers Inner Housing - View on PiCam and Raspberry Pi

The plumbing tube of the housing is sealed with two acrylic-glass windows. One 6mm one in front of the camera and three 4mm layers in the rear end. The three layers form tunnels for the cables going out to the motors and up to the ground control station. I hope with plenty of silicone this will be water tight.

Outer Housing - Frontview Outer Casing - Channels in the Backplate

If anyone has a good idea how to set up a basin/pool to demonstrate the ROV in, let me know.
Four weeks to go! 🙂

RPi2C

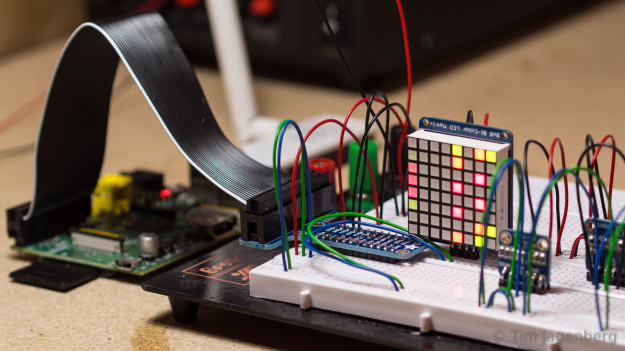
I recently ordered a bunch of I2C breakout boards to tinker around with. The first thing I implemented, using the Pi4J library, was a simple eight by eight version of Conway’s Game of Life using an I2C controlled bicolor LED matrix from Adafruit.
I2C 8x8 Game of Life

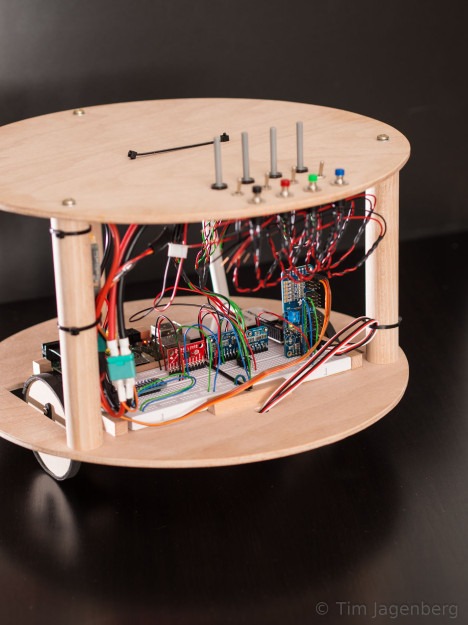
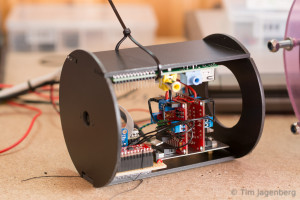
Next I build a simple two-wheeled robotic platform (RPi2C) to test the 9DOF MPU9150 breakout board from Sparfun. This little chip integrates accelerometer, gyroscope, and magnetometer into a single package and also includes what Invensense calls a digital motion processor for on-board sensor fusion.
RPi2C RPi2C

The two wheels are driven by basic Parallax continuous rotation servos and controlled by the same I2C based PCA9685 breakout board from Adafruit I already used on the RaspberryPylot. As the MPU9150 DMP requires uploading of firmware via I2C which I still need to implement, I’m currently simply using the raw gyro data and a PID controller for very basic stabilisation. Also the low rotational speed of the servo motors limits the ability to recover from disturbances. Fusing the sensor data of the accelerometer and the gyro, an improved controller, and maybe stronger motors should deliver better results, soon.

The platform also includes a basic bread-board, a bunch of potentiometers, switches, and buttons, as well as an ADS1115 16-Bit ADC and a SX1509 16 Output I/O Expander for happy tinkering. 😉