Punch Card to Twitter

"HELLO WORLD!"

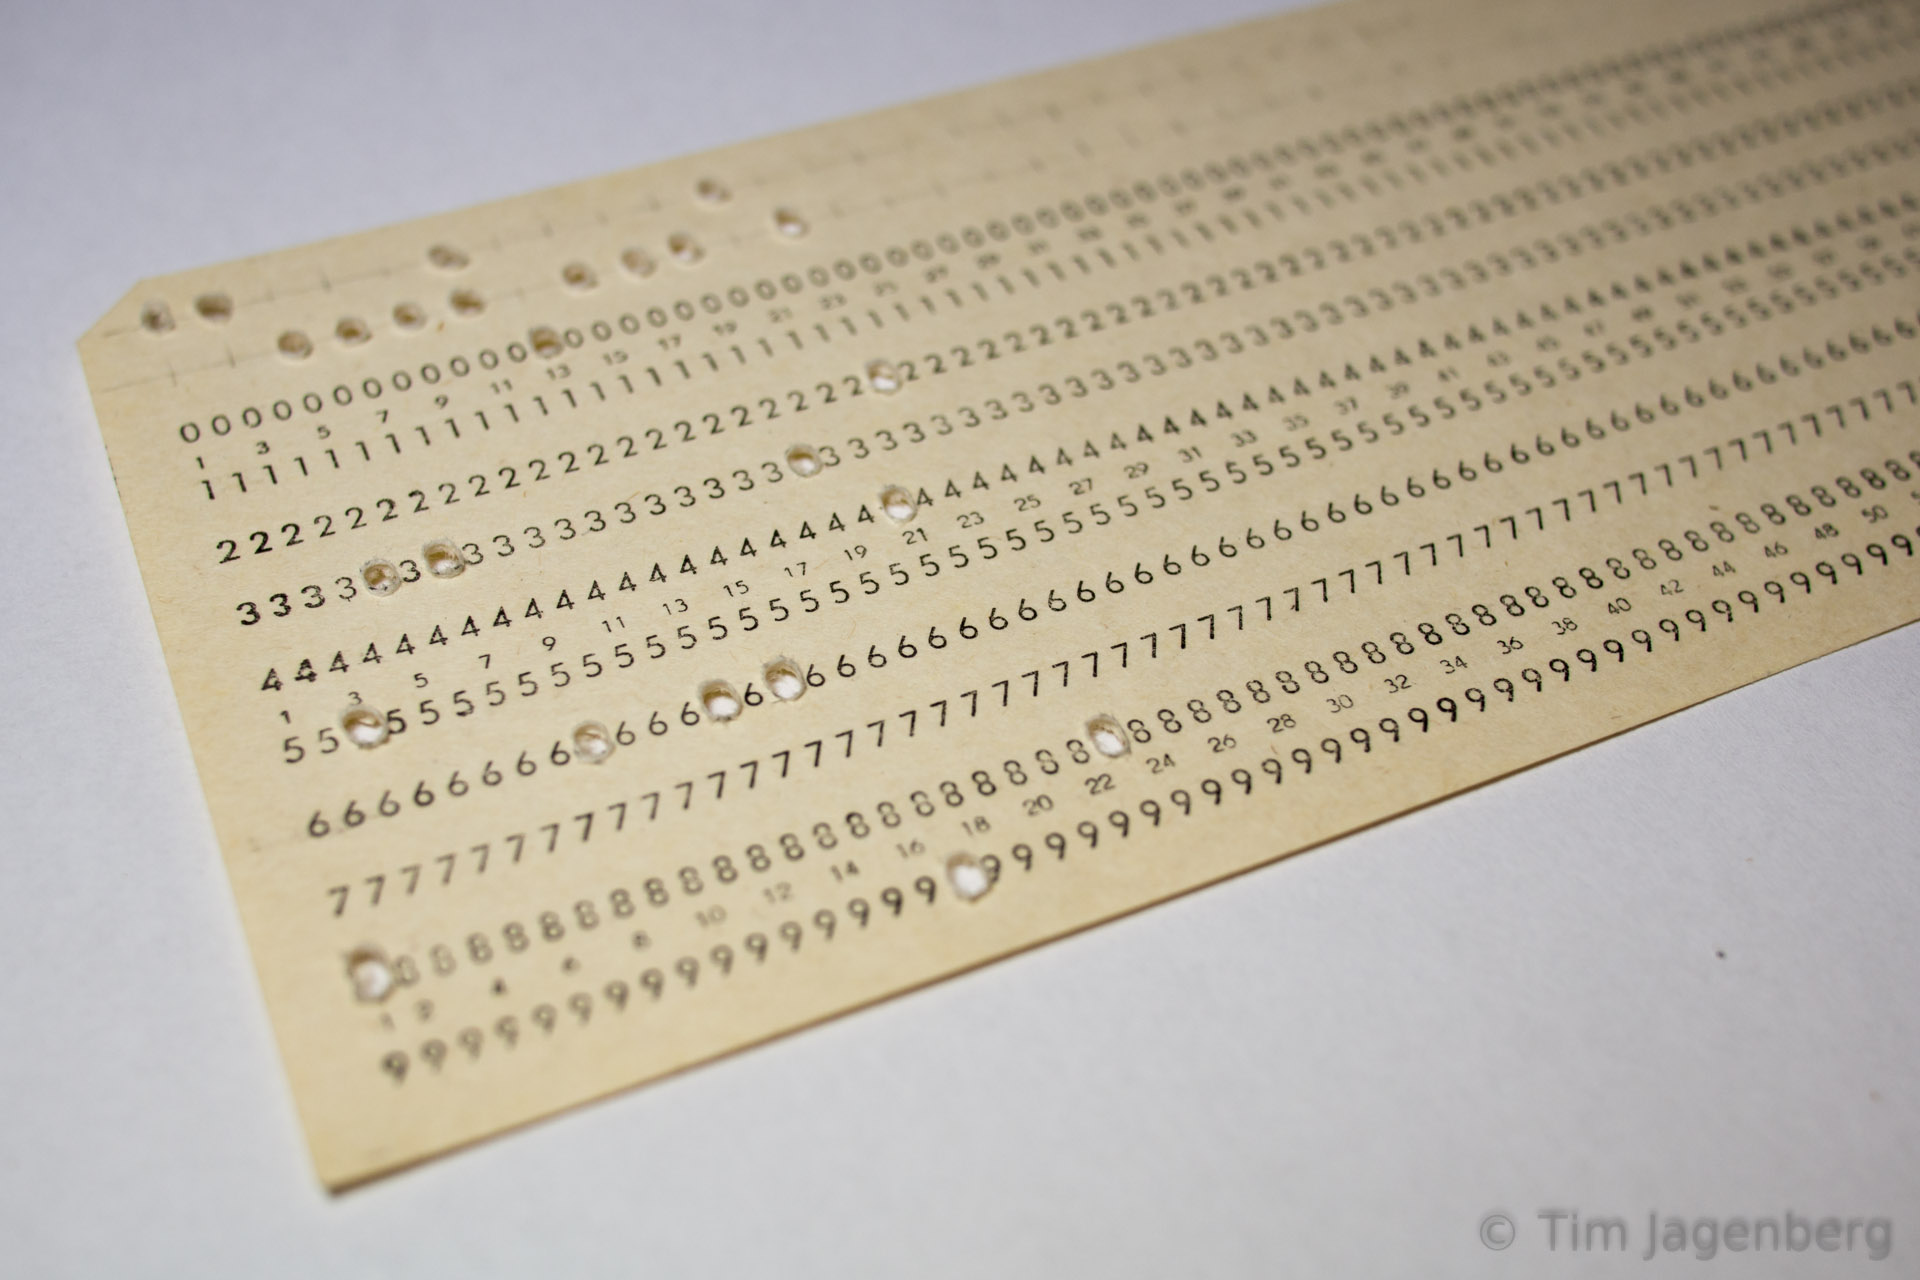
The above line was actually directly written from an old-fashioned punch card! How? Via my DIY punch-card-to-keyboard interface 😉

It all started with a conversation with a colleague about the good-old-times of computers, when de-bugging was still removing live animals. A few days later he dropped by my office and handed me a bunch of cards of ‘Druckwerke Reichenbach’.

punched card - HELLO WORLD! first prototype - mechanical punch card reader

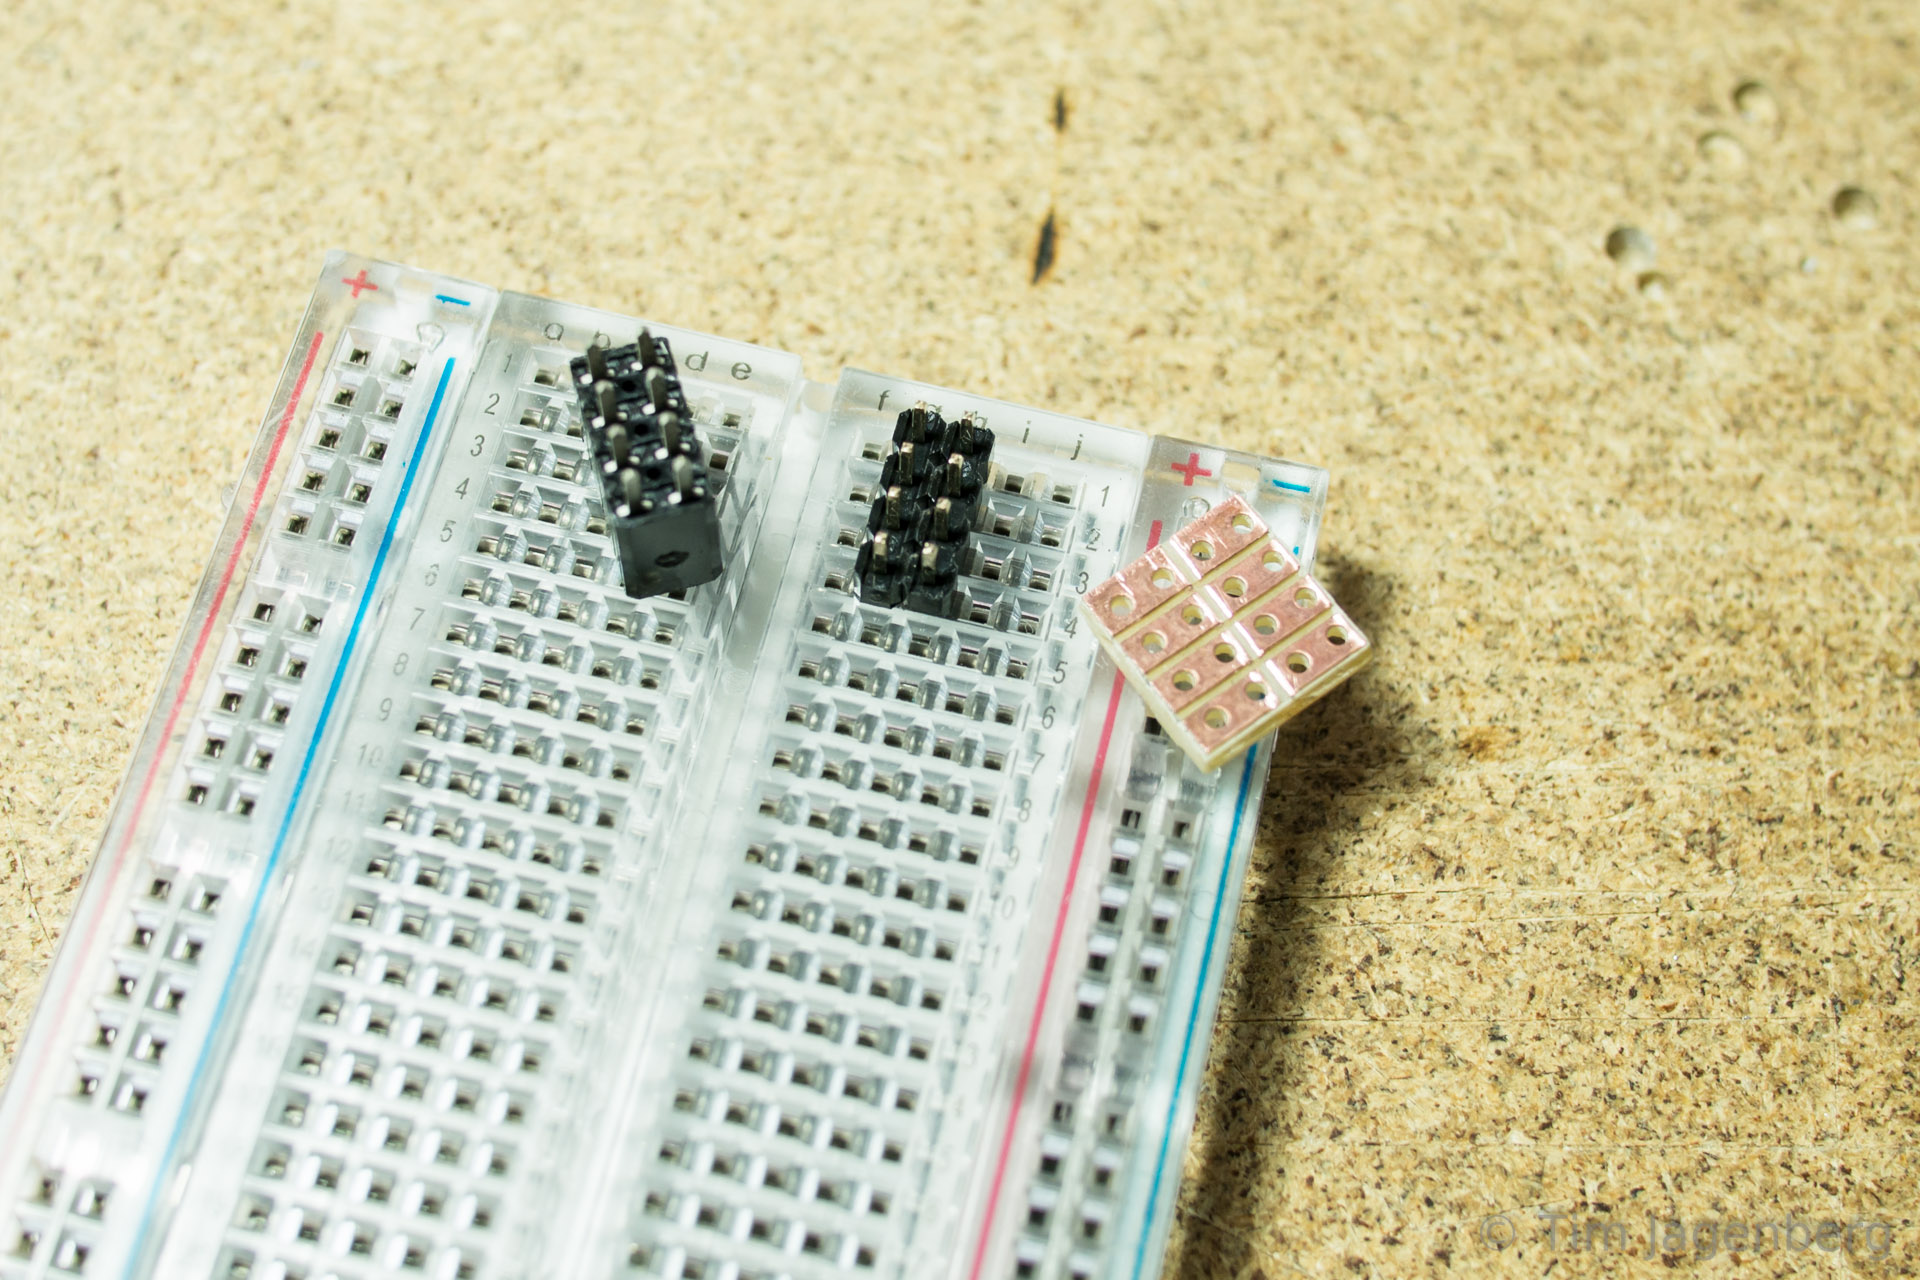
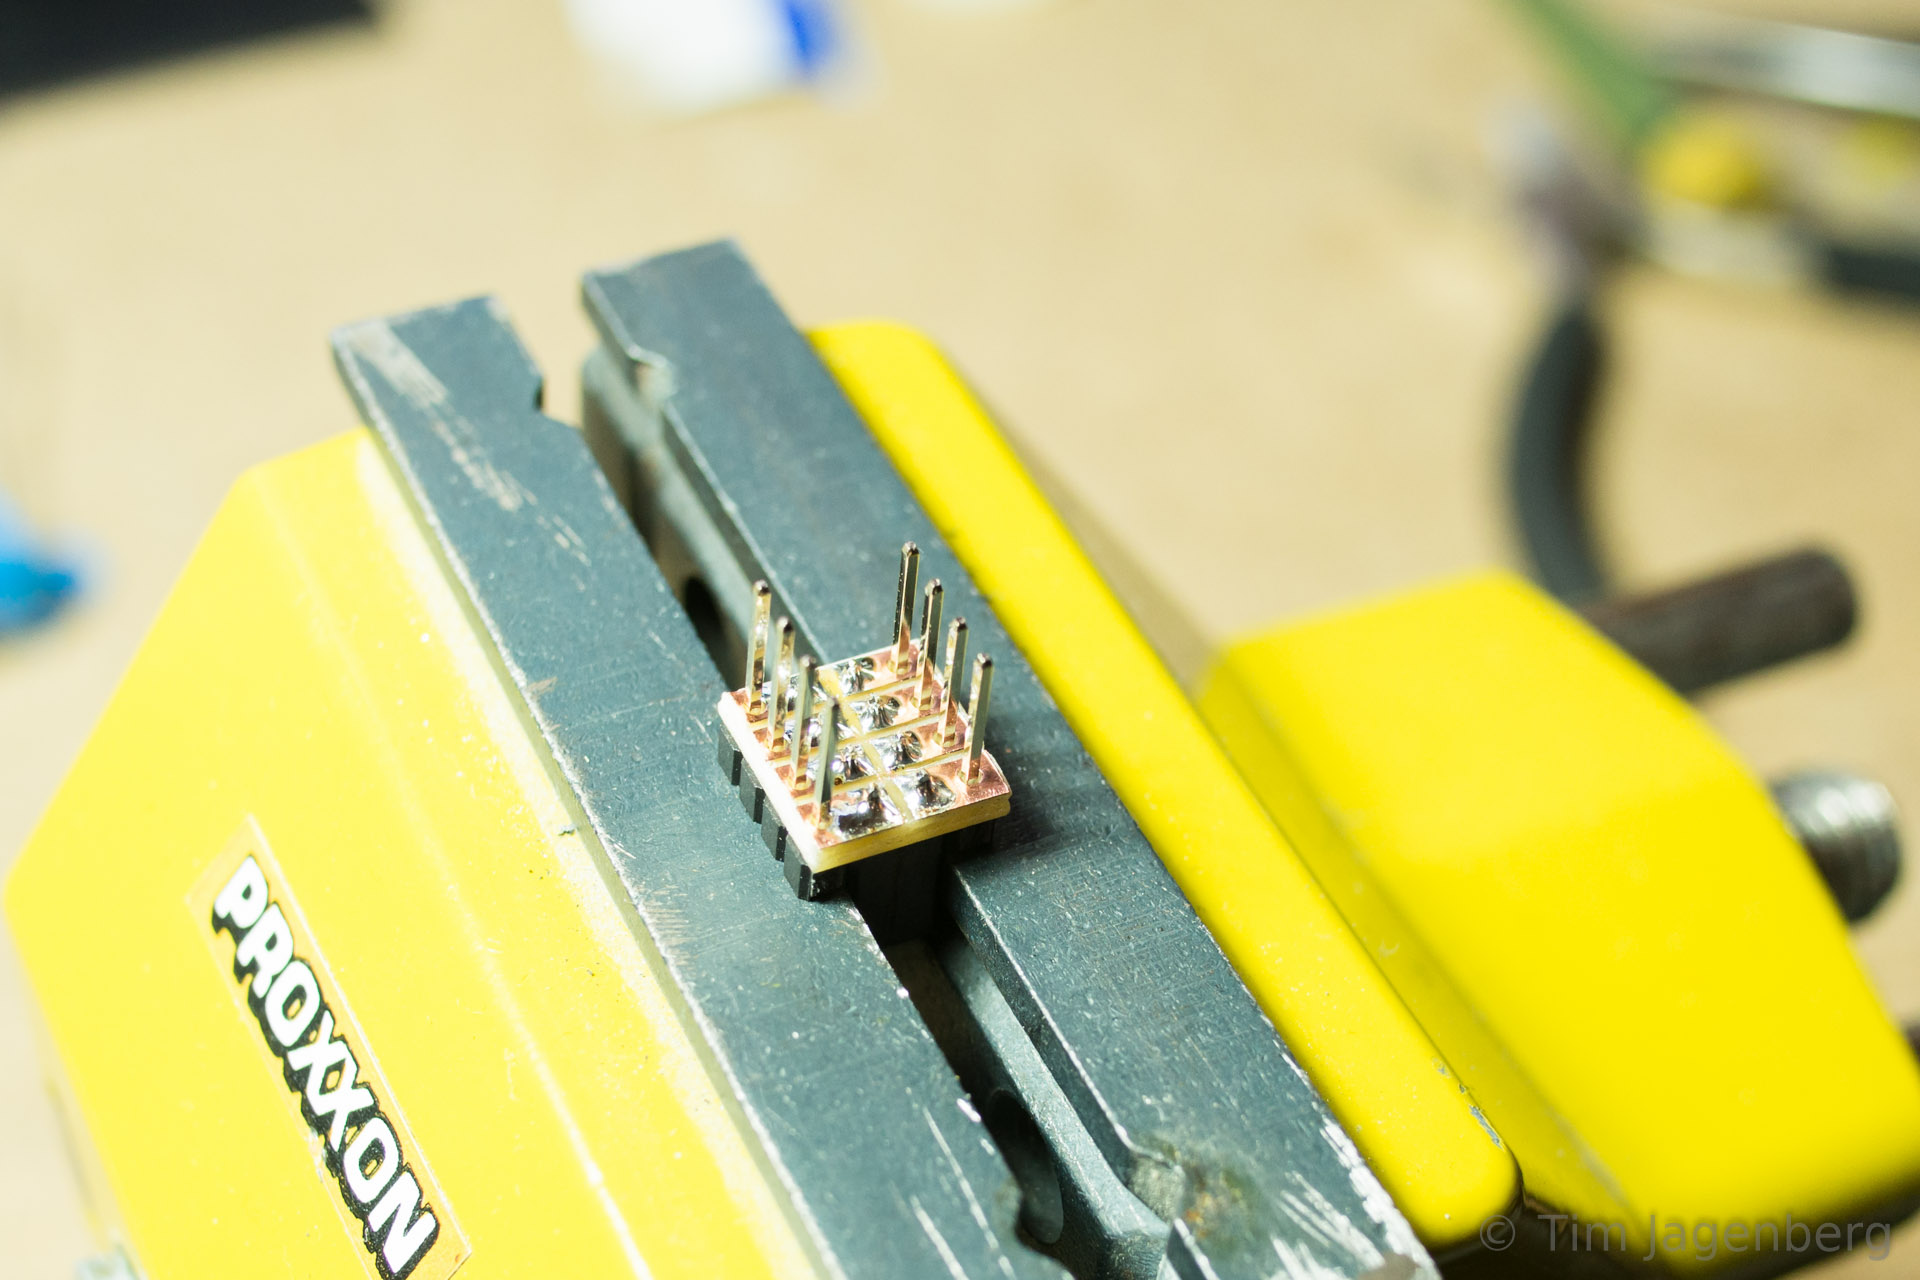
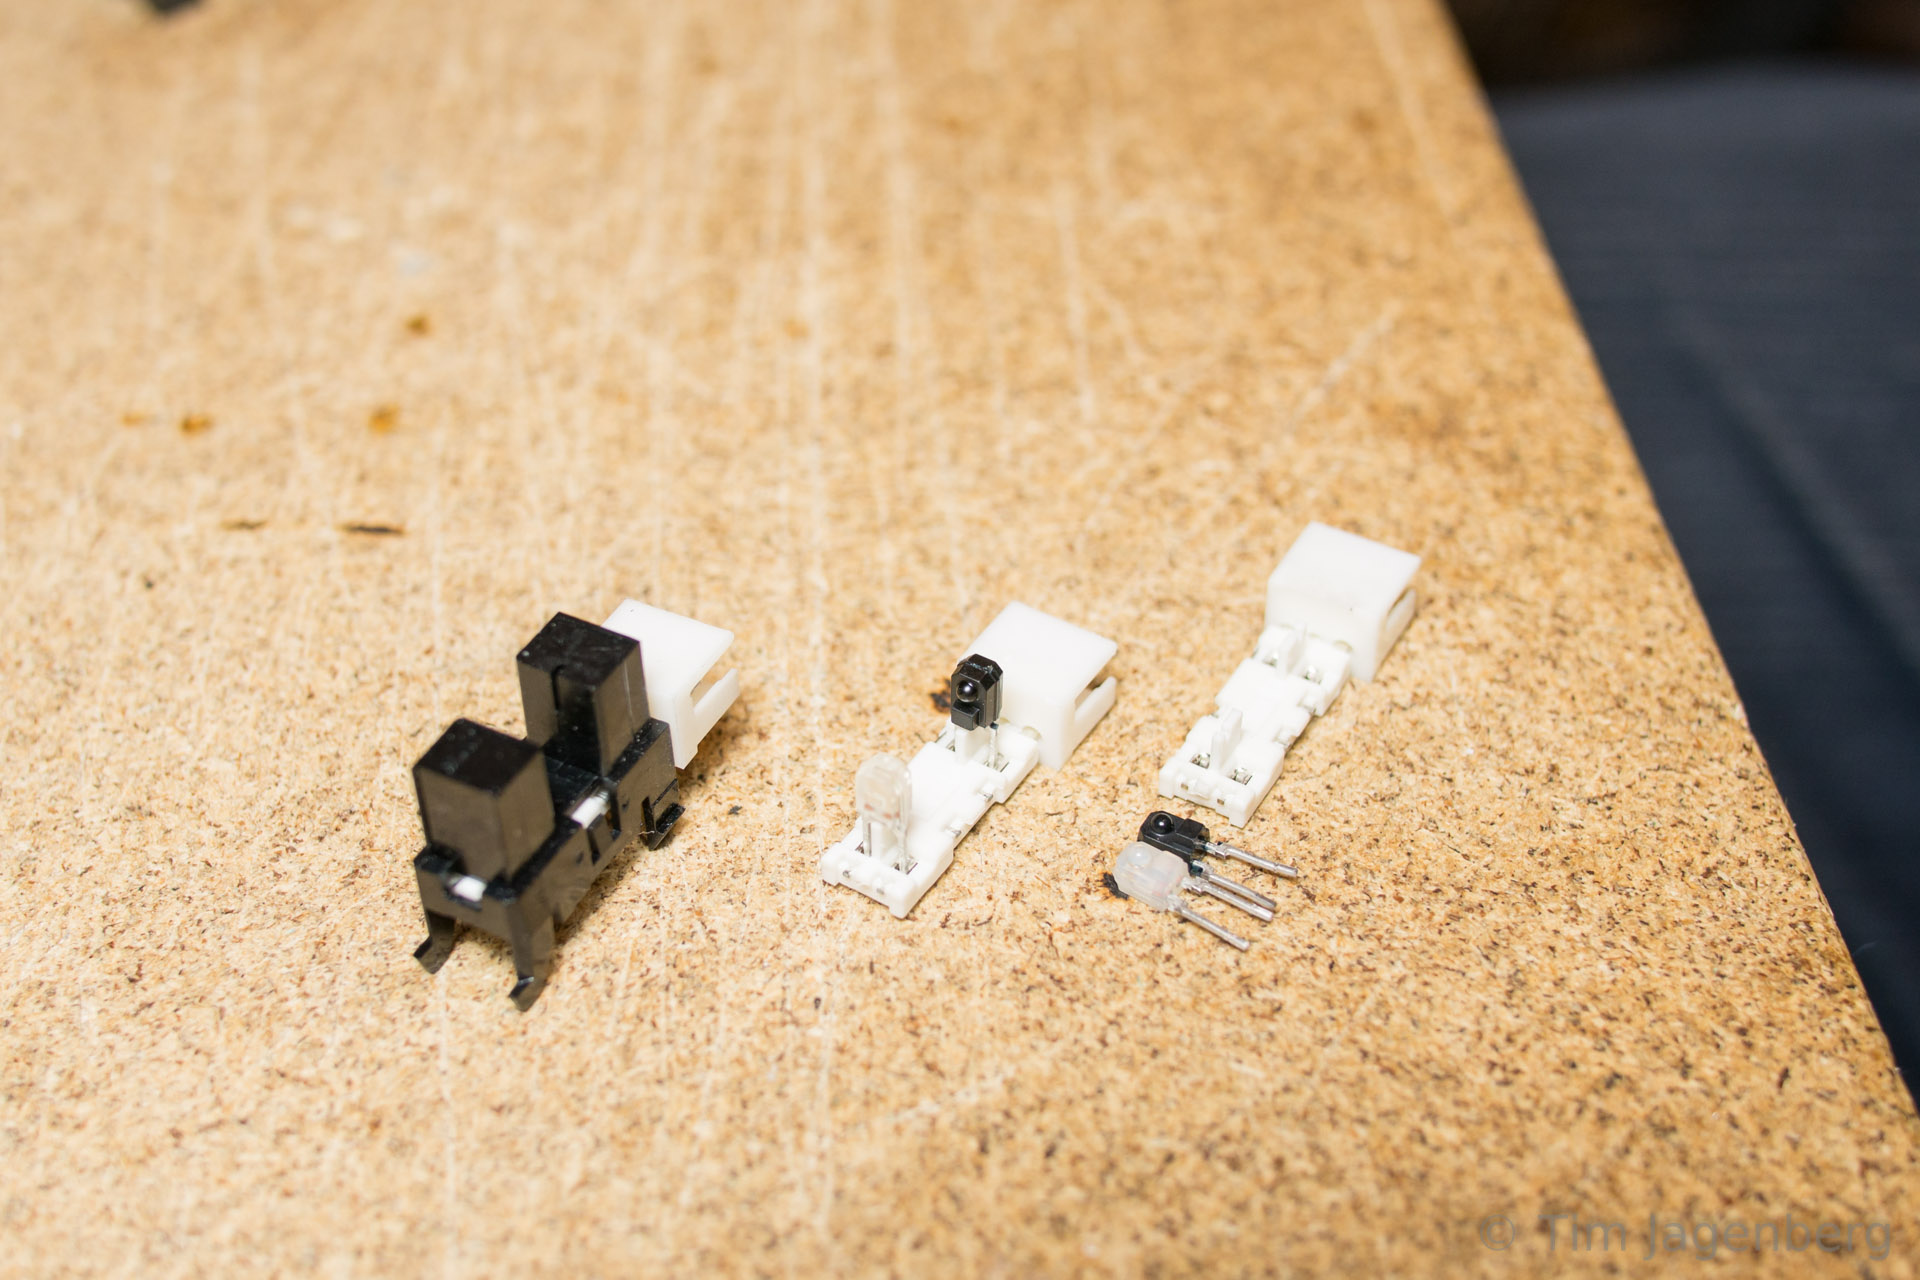
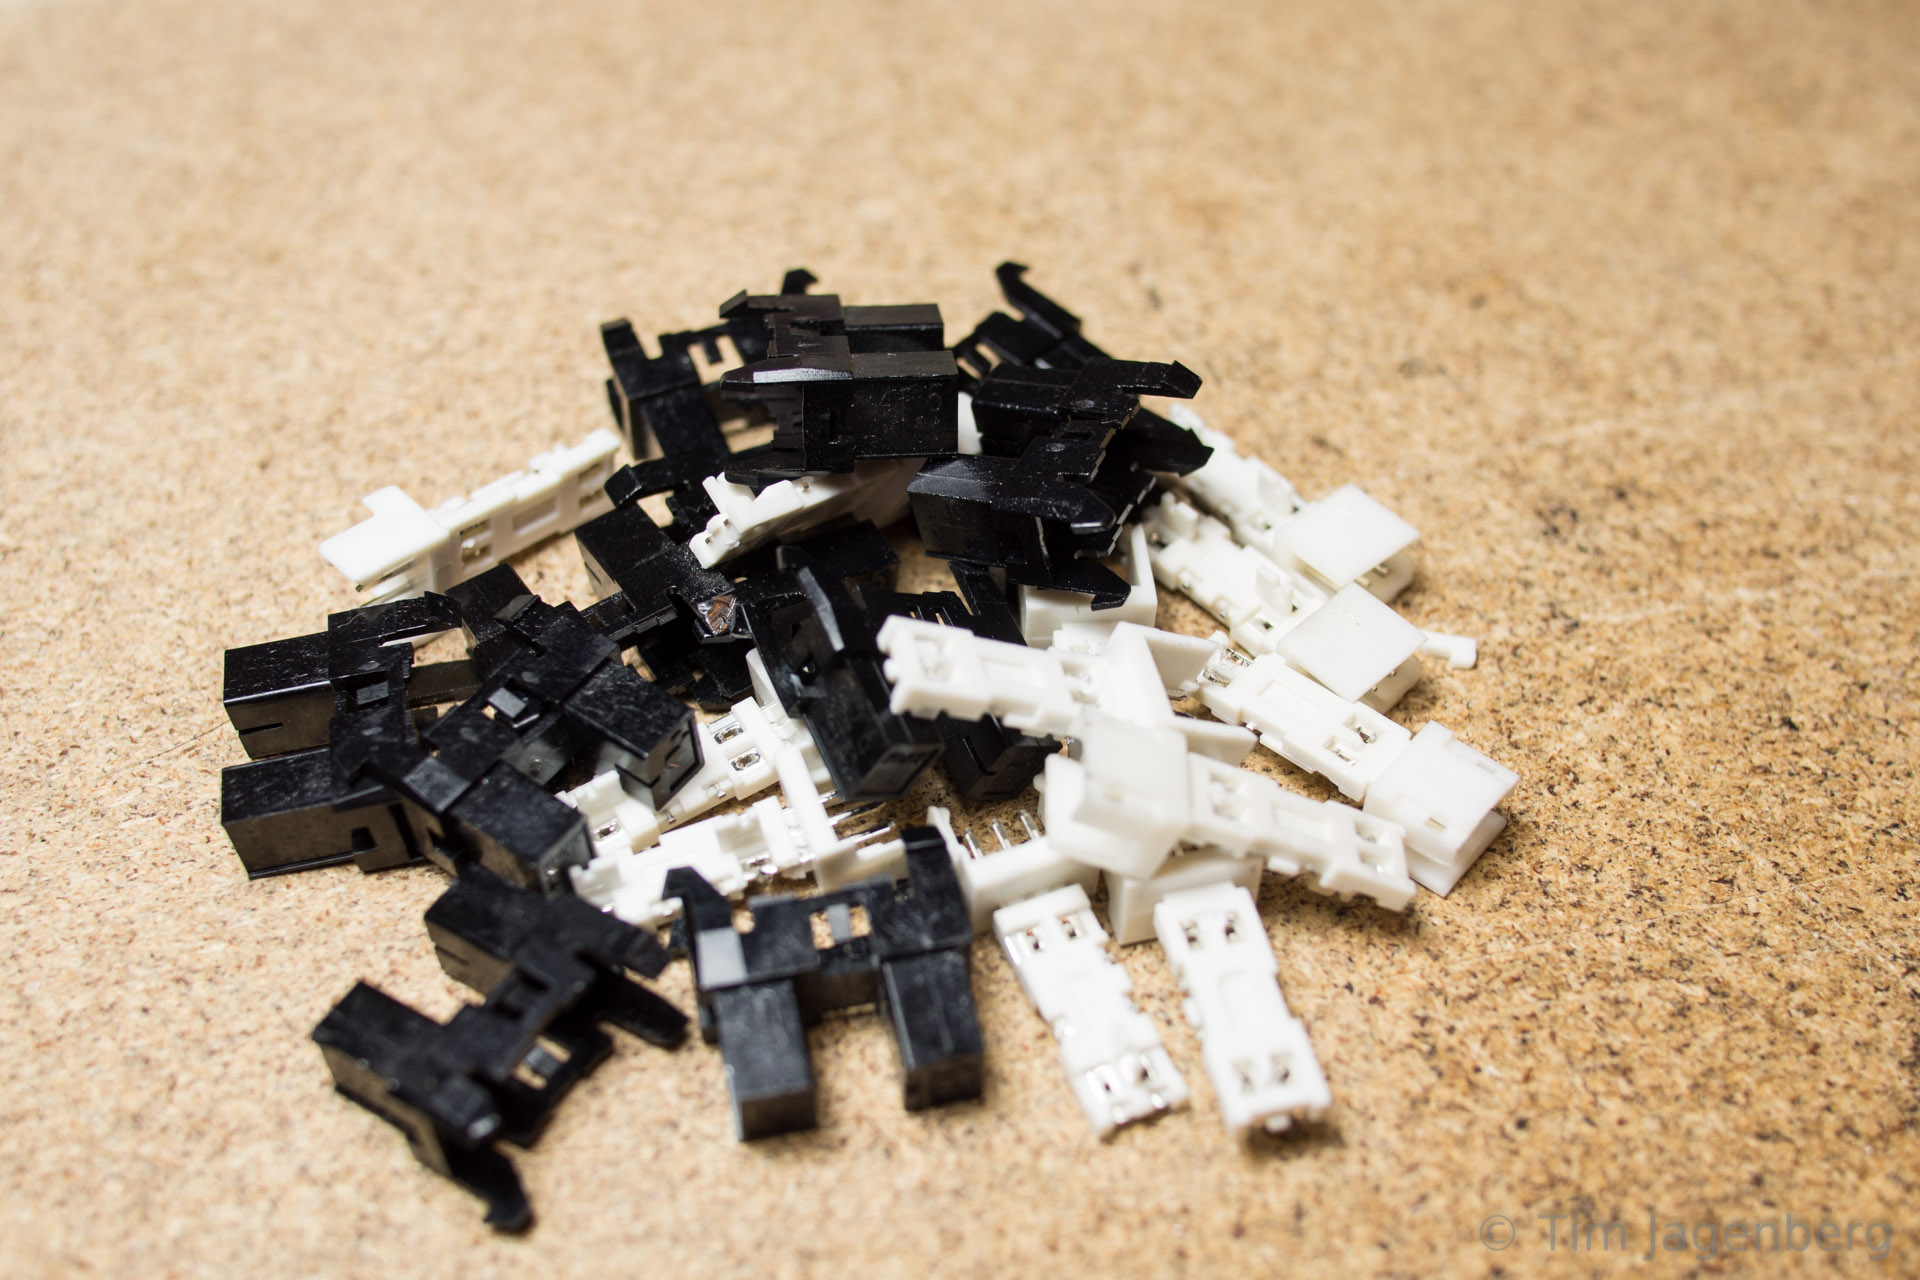
Initially I tried reading the cards with a mechanical contact, but this quickly turned out to be highly unreliable. Around the same time I had disassembled some old HP office print stations, which resulted in a large number of useful parts. Some stepper motors, some solenoids, and heaps of slotted optical interrupter switches. Following a tip of another colleague, I started disassembling the switches into IR-LEDs and corresponding photo-transistors.

disassembling optical switches optical punched card reader prototype - the left-overs

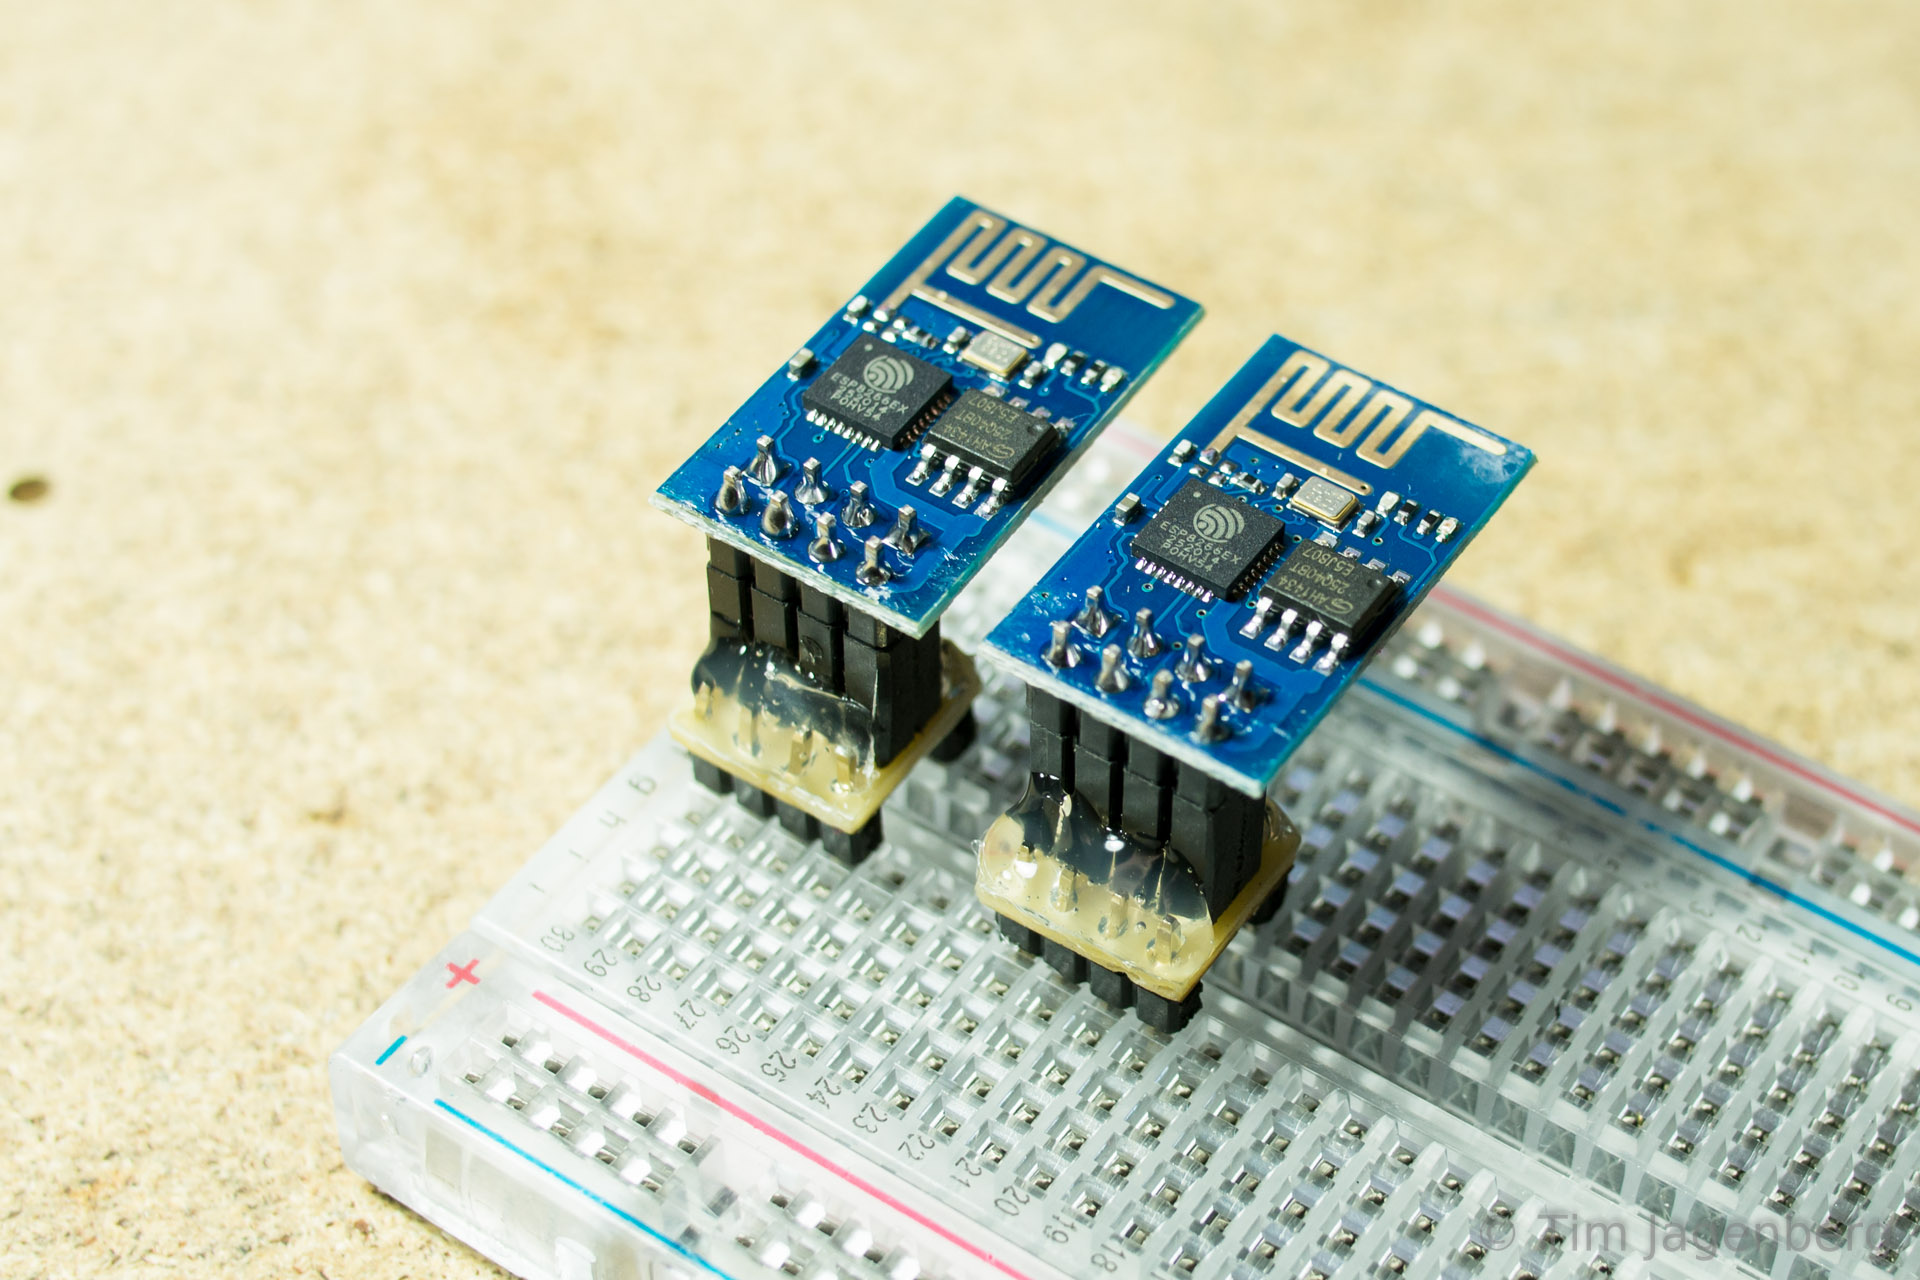
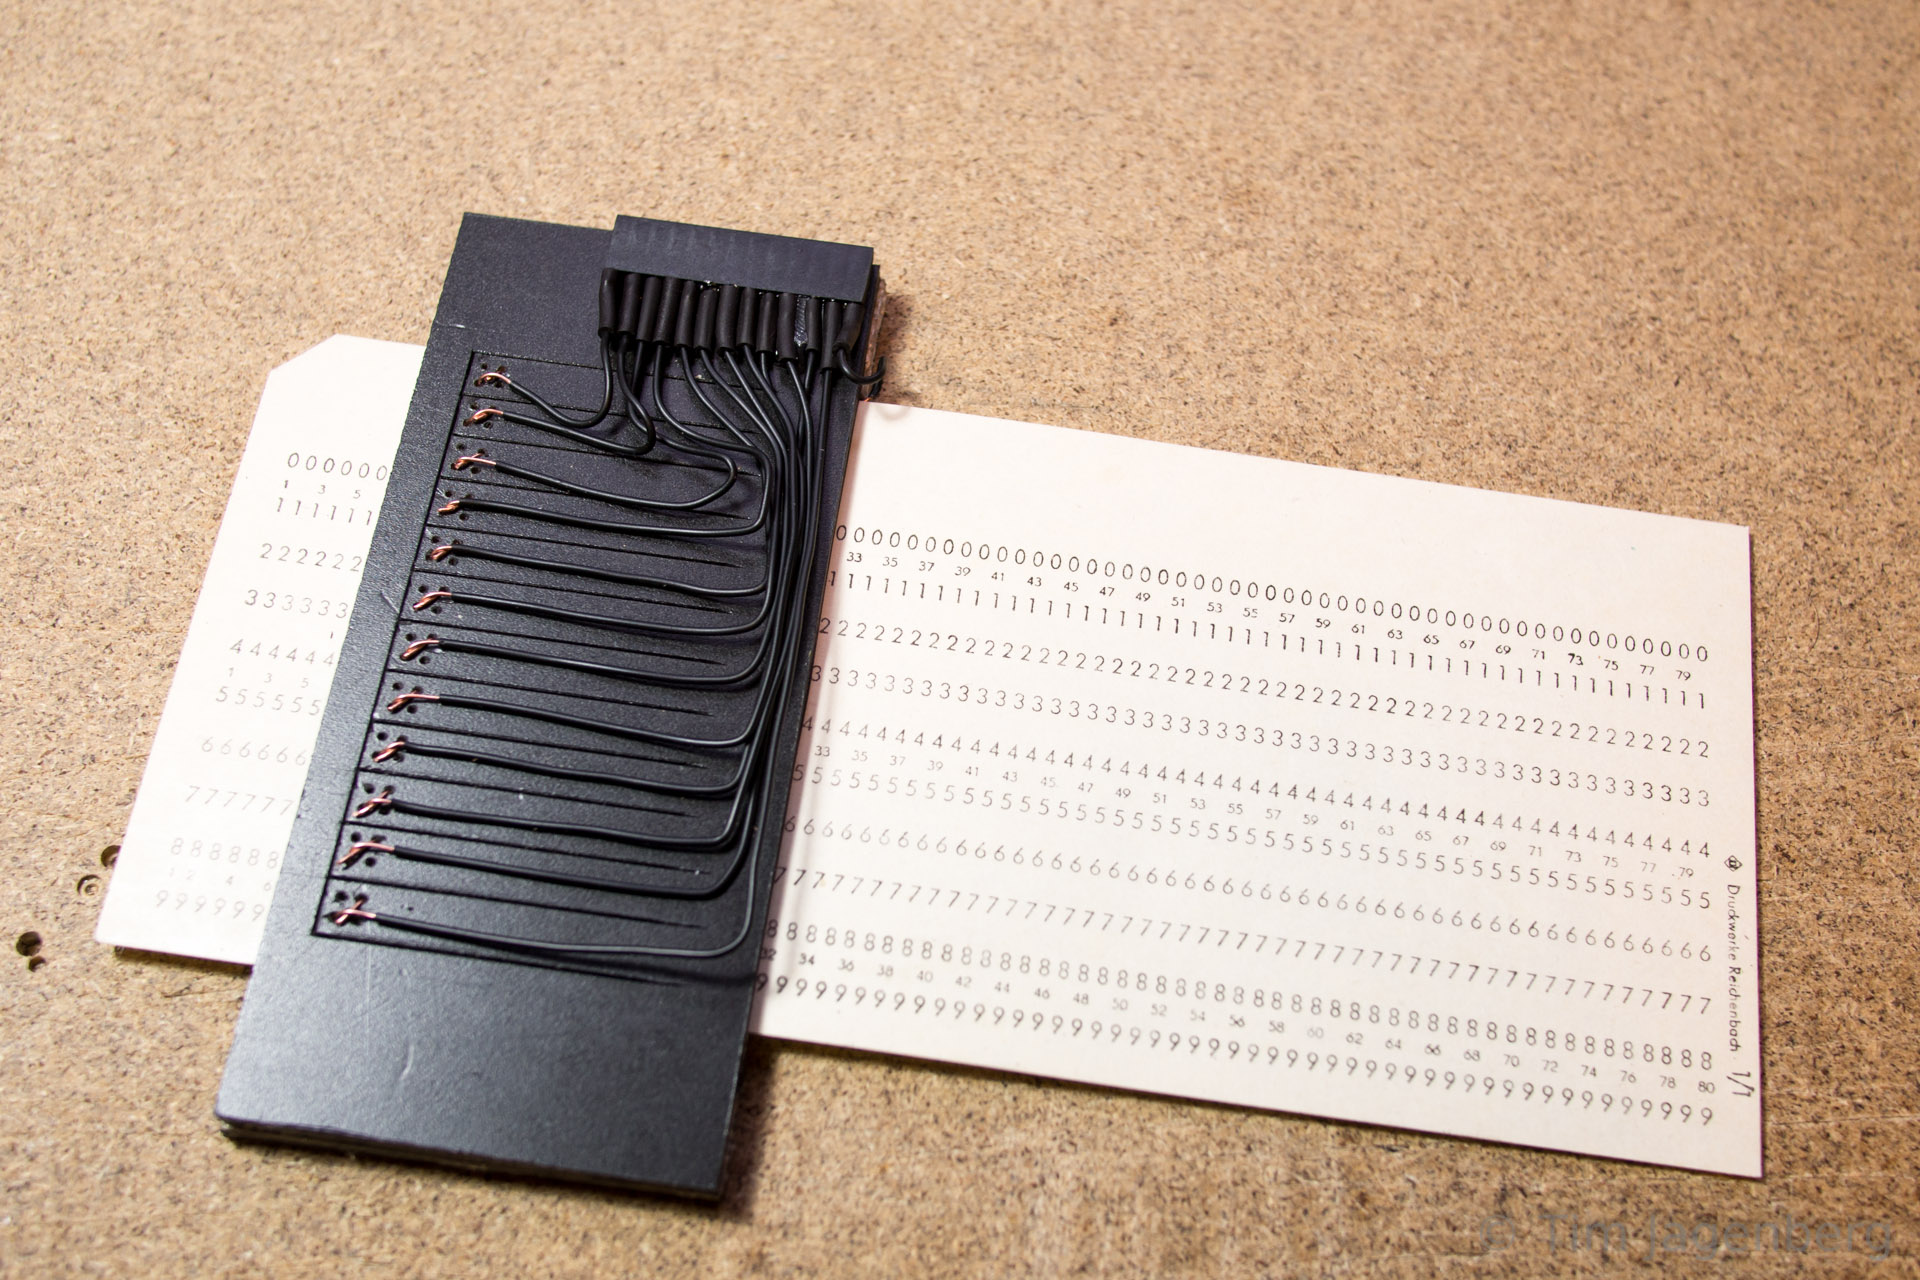
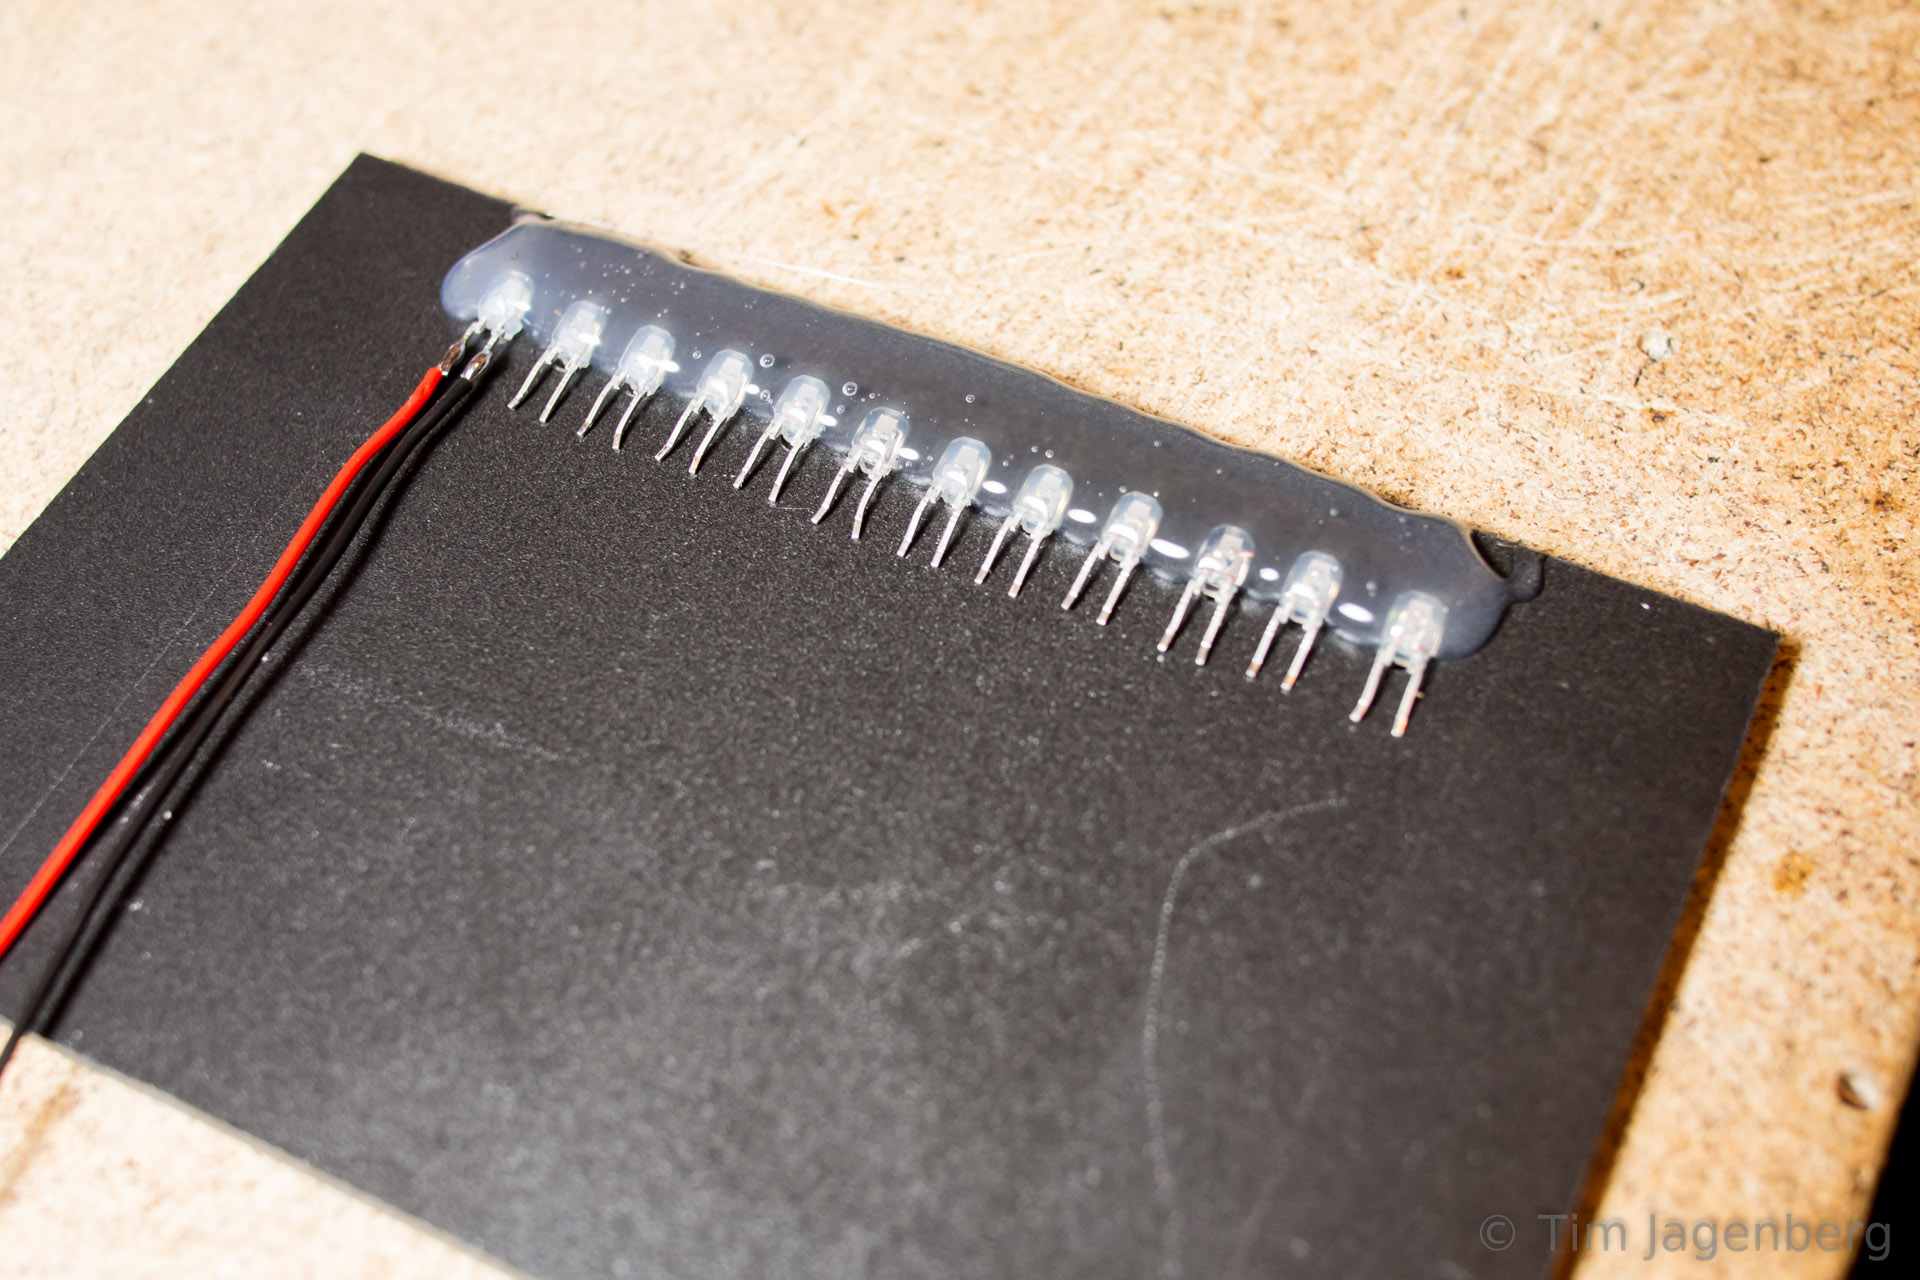
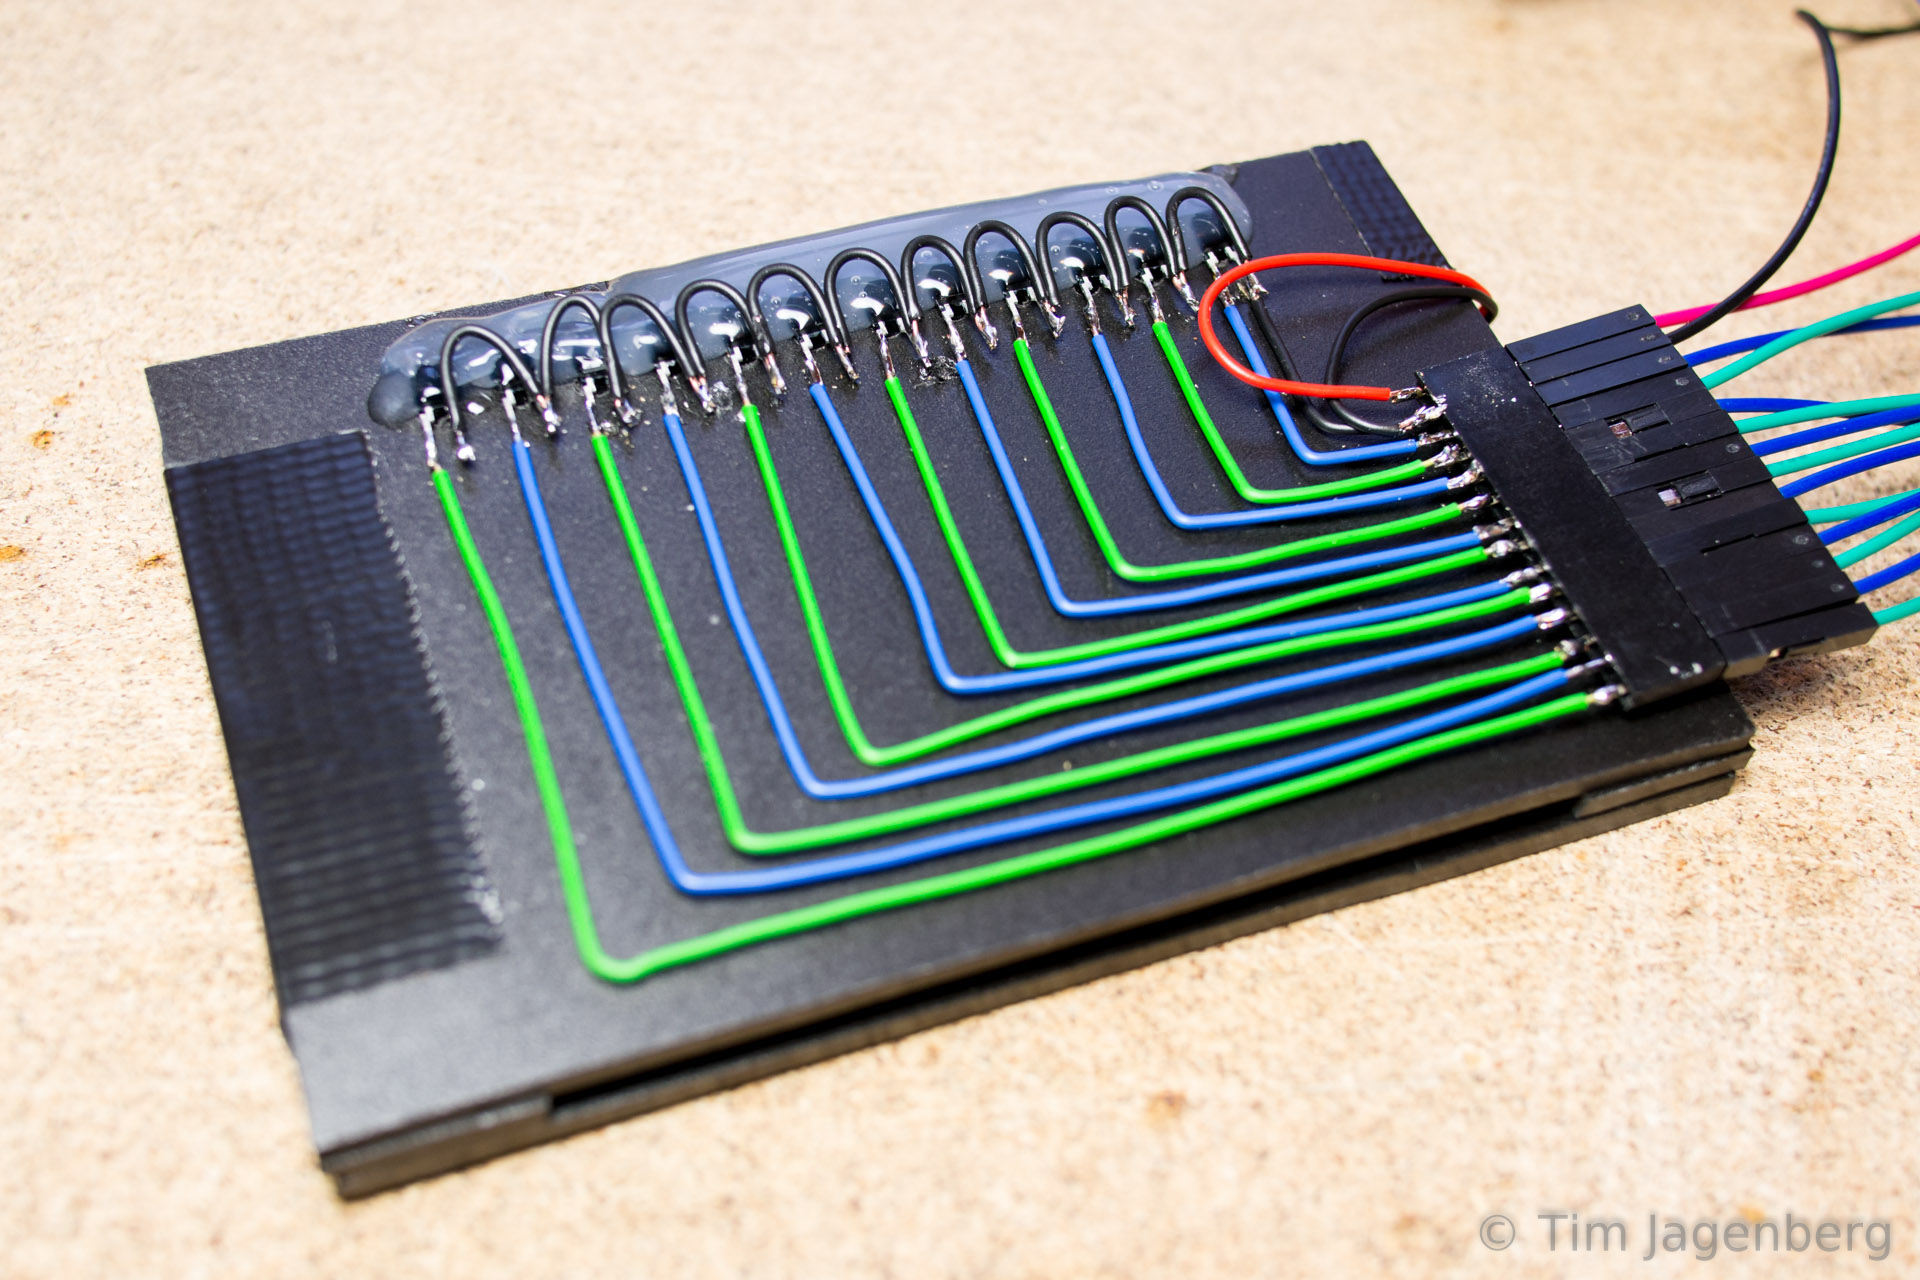
Using these components I build a new prototype, this time using contactless optical sensors. I drilled opposing holes into two plastic cards. On one side I glued the LEDs and on the other side the photo-transistors. The LEDs are powered by 3.3V chaining 3 LEDs serial and 4 groups parallel. The transistors use a common ground and are connected to the Teensy 3.1 inputs. The inputs have activated pull-up resistors, pulling them to 3.3V as well. With a free passage between the LED and the transistor, the light activates the transistor, which in turn pulls the input to ground. With the card in between, the transistor receives no light and let’s the input be pulled up to 3.3V. Thus the input pins follow an inverted logic.

optical punched card reader prototype - holes for the leds optical punched card reader prototype - installing the leds

The two plastic plates are separated by two plastic guides to each side of the card. They provide guidance to the card when inserted, which is important for the correct hole alignment. As the optical card reader turned out to work rather reliable, I implemented a simple interpreter on the Teensy 3.1 which reads the card according to the IBM model 029 keypunch from the 60’s / 70’s. The micro-controller is recognised as a USB HID keyboard and sends the decoded characters as key presses. Each card is finalised with an ‘enter’ key press. The only adjustments I made are to only use every second column of the card in order to make sure all contacts close after each character. Also I added a space character encoding (Y&X row). You can download the binary and source code for the Teensy 3.1 based decoder from github.

optical punched card reader prototype - the switch side optical punched card reader prototype - wired to the Teensy 3.1

Now all that’s left is to do is to use this device and send a ‘HELLO WORLD!’ tweet directly from punch card 🙂

DIY ESP8266EX Breadboard Adapter

Today I received the ESP8266EX Serial -> WiFi modules! After not being convinced by the rather expensive Adafruit TI CC3000 (35USD!) module I am now very curious about these tiny and cheap (<4USD) modules.

As their default header (2X4 male) is not exactly breadboard friendly, I sat down today and soldered a simple breadboard adapter. All you need is a tiny piece of stripboard 4×4, two male headers 1×4, two female headers 1×4 or one female header 2×4, and a bit of hot glue.

use the male headers to stbilise the female header place the strip-board on the female header solder the female header to the strip-board

  • Cut the stripboard to the correct size (4×4) and sandpaper any rough edges. Use a file to separate the copper strips across the middle.
  • Place the female header on a breadboard using the male headers to give it some stability and solder it to the stripboard. Watch out for the correct orientation!

re-aligned male header reverse inserted male headers solder the male headers

  • Re-align the plastic spacer of the male headers all the way to the top.
  • Place the stripboard with the male headers inserted from the non-copper side on some support (I used my vice for this).
  • Solder the male headers to the stripboard.

plastic spacer on the bottom side hot glue around the male header tips DIY breadboard adapter for the ESP8266

  • Now replace the plastic spacer of the male headers to the bottom side and push it as far up as possible (it probably will not go all the way because of the solder)
  • Add some hot glue around the tips of the male headers to provide additional support and strength.
  • Voilà!

The first tests using the Bus Pirate as UART bridge worked fine. I could talk to the module and connect to my home WiFi via WPA2.

EclipseCon Europe 2014

Last weeks EclipseCon Europe in Ludwigsburg, Germany was great! Thanks to all those active contributors, who made this event possible. Additional to the usual Java and Eclipse topics, there were very interesting sessions on the Internet of Things, web technologies, and OSGi.

It all started on Monday with a meeting by the Eclipse Science Working Group where things revolved around representations of scientific data and their visualisation. Key projects were the Eclipse Integrated Computational Environment (parallel visualisation), DAWNSci (data analysis), OpenChrom (chromatography), and OpenFlow (geology visualisation).

For a stream of conference photos, check out the flickr group.

The main conference began on Tuesday with a workshop on automated GUI testing based on Jubula. My personal highlights of the conference sessions on the following days were

  • ’10 platforms in 30 minutes’ where Jonas Helming live-coded 10 GUIs on different platforms based on EMF Forms. The paper print-out even got delivered by micro-quadrocopter! 😀
  • The presentation of openHAB (home automation bus) as the center of an Eclipse based SmartHome.
  • The keynote ‘Innovation Begins at Home’ by Andy Stanford-Clark who automated his home early on and created the Twittering Isle of Wight Ferries.
  • Ian Craggs providing an overview of the currently available embedded implementations of MQTT and MQTT-SN which just last week were accepted as OASIS standards.
  • A live demonstration of Docker providing a very flexible infrastructure for Eclipse RT applications. I recently had the chance to try out Docker and it is really amazing. If you are looking for a lightweight and highly flexible alternative to virtualization on Linux, try this!
  • Last but not least, Gordon Williams‘  and Tracy Miranda‘s introduction to the Espruino JavaScript embedded platform. It consists of an ARM based micro-controller running Gordon’s open source JavaScript interpreter and a web-based IDE. When Gordon integrated Espruino with the Eclipse Orion web-IDE, he could not access the serial port because of access rights limitations of the web-browser. As a work around he turned to generally available interface of web-applications, the audio out- and input! By adding a simple circuit and an orion plugin, he was actually able to use a normal audio jack as serial interface to the microcontroller! Now this totally reminds me of the Acoustic couplers of the good old days when the nets still made hissing sounds 🙂

All in all, with the great conference food, the entertainment with Circus Eclipse and the rock-band Cool Down, and the great speakers and participants, this is an event I am already looking forward to in 2015!