The recent Hak5 episode 1903 inspired me to build a King of the Hill version for quadcopters. Shannon and Darren talked about their acrylic drone-fighting cage, the last-man-standing matches they had, and their future plans including a version of king of the hill.
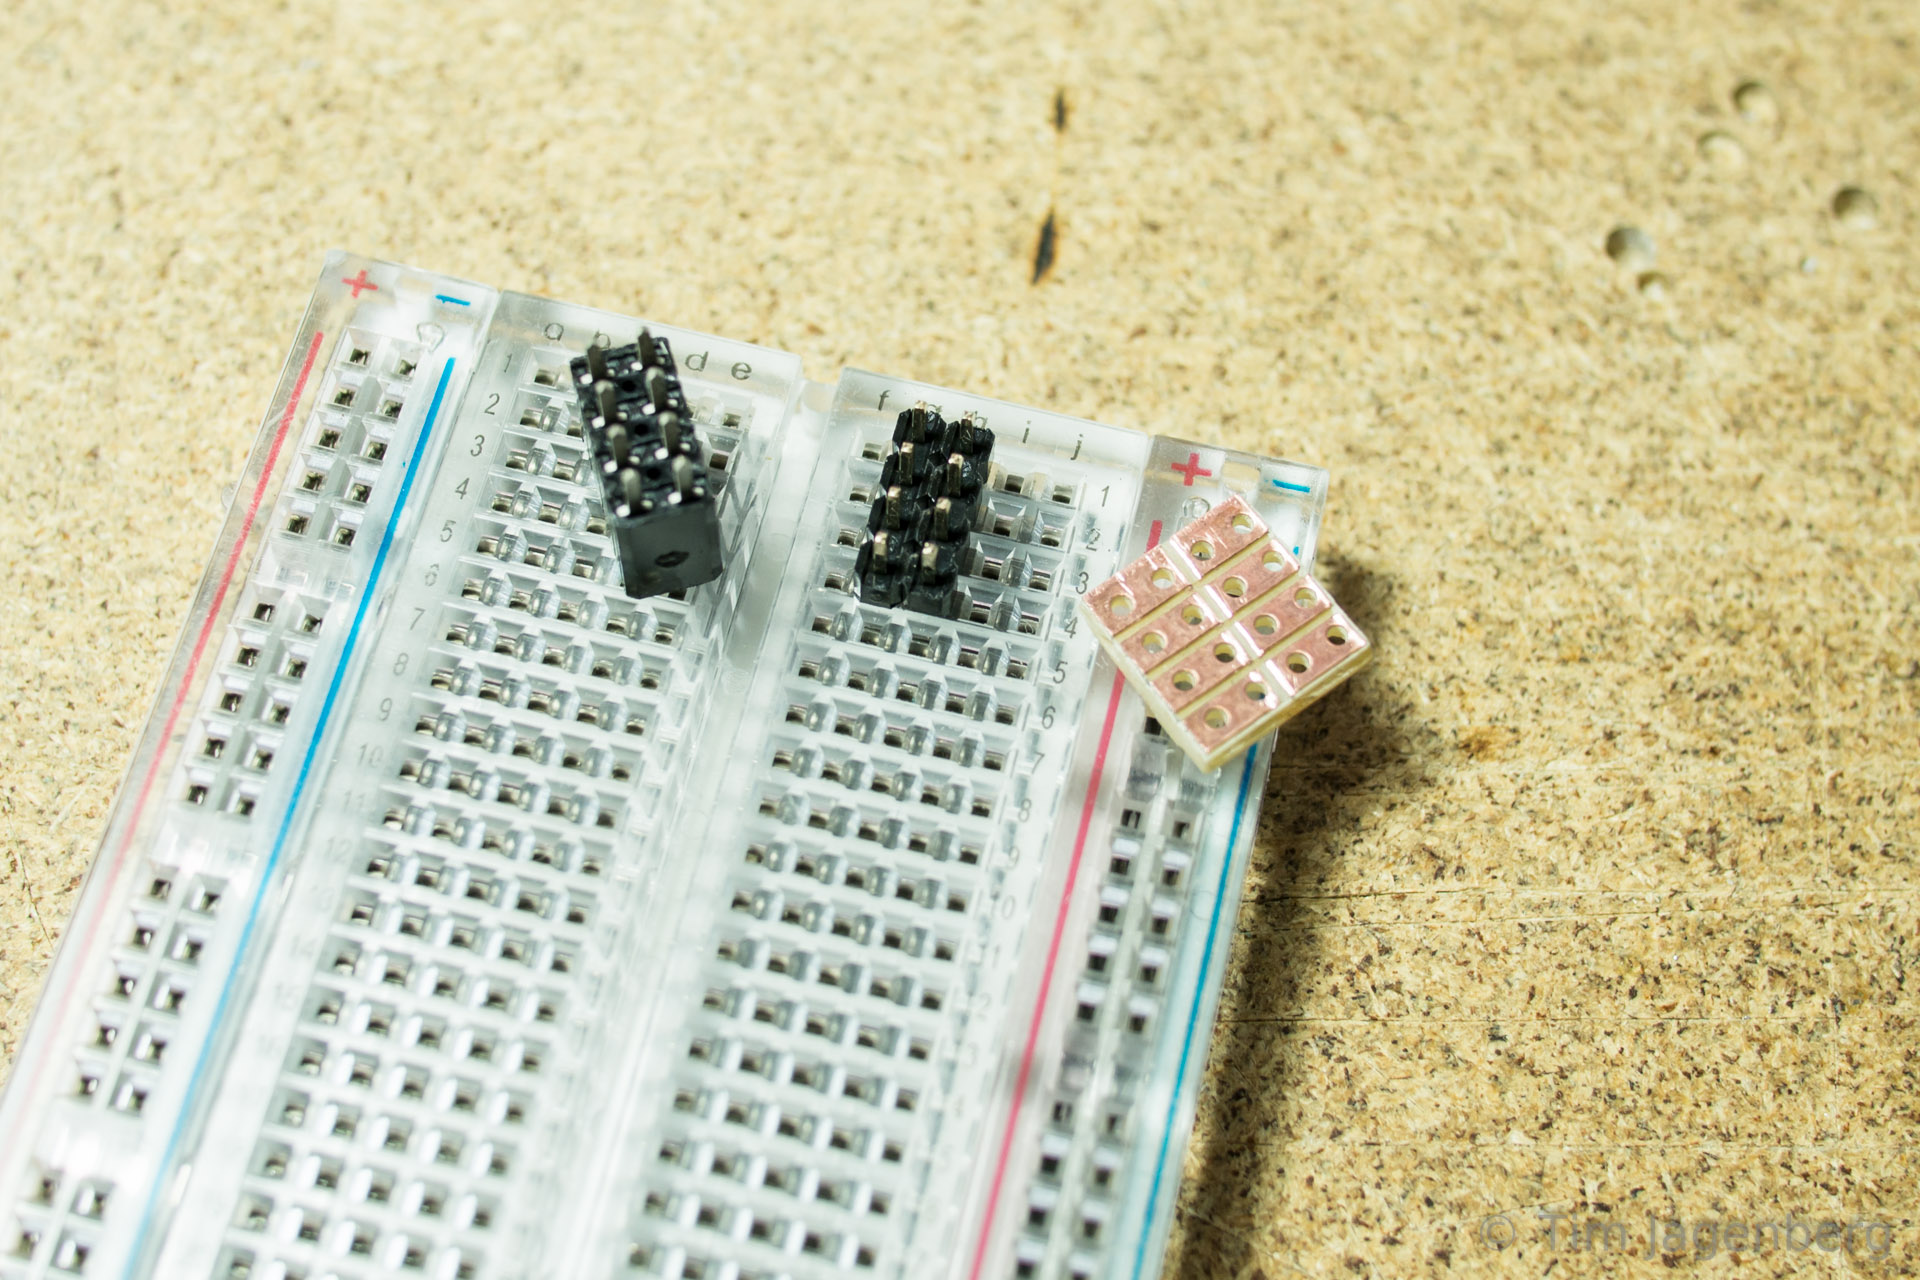
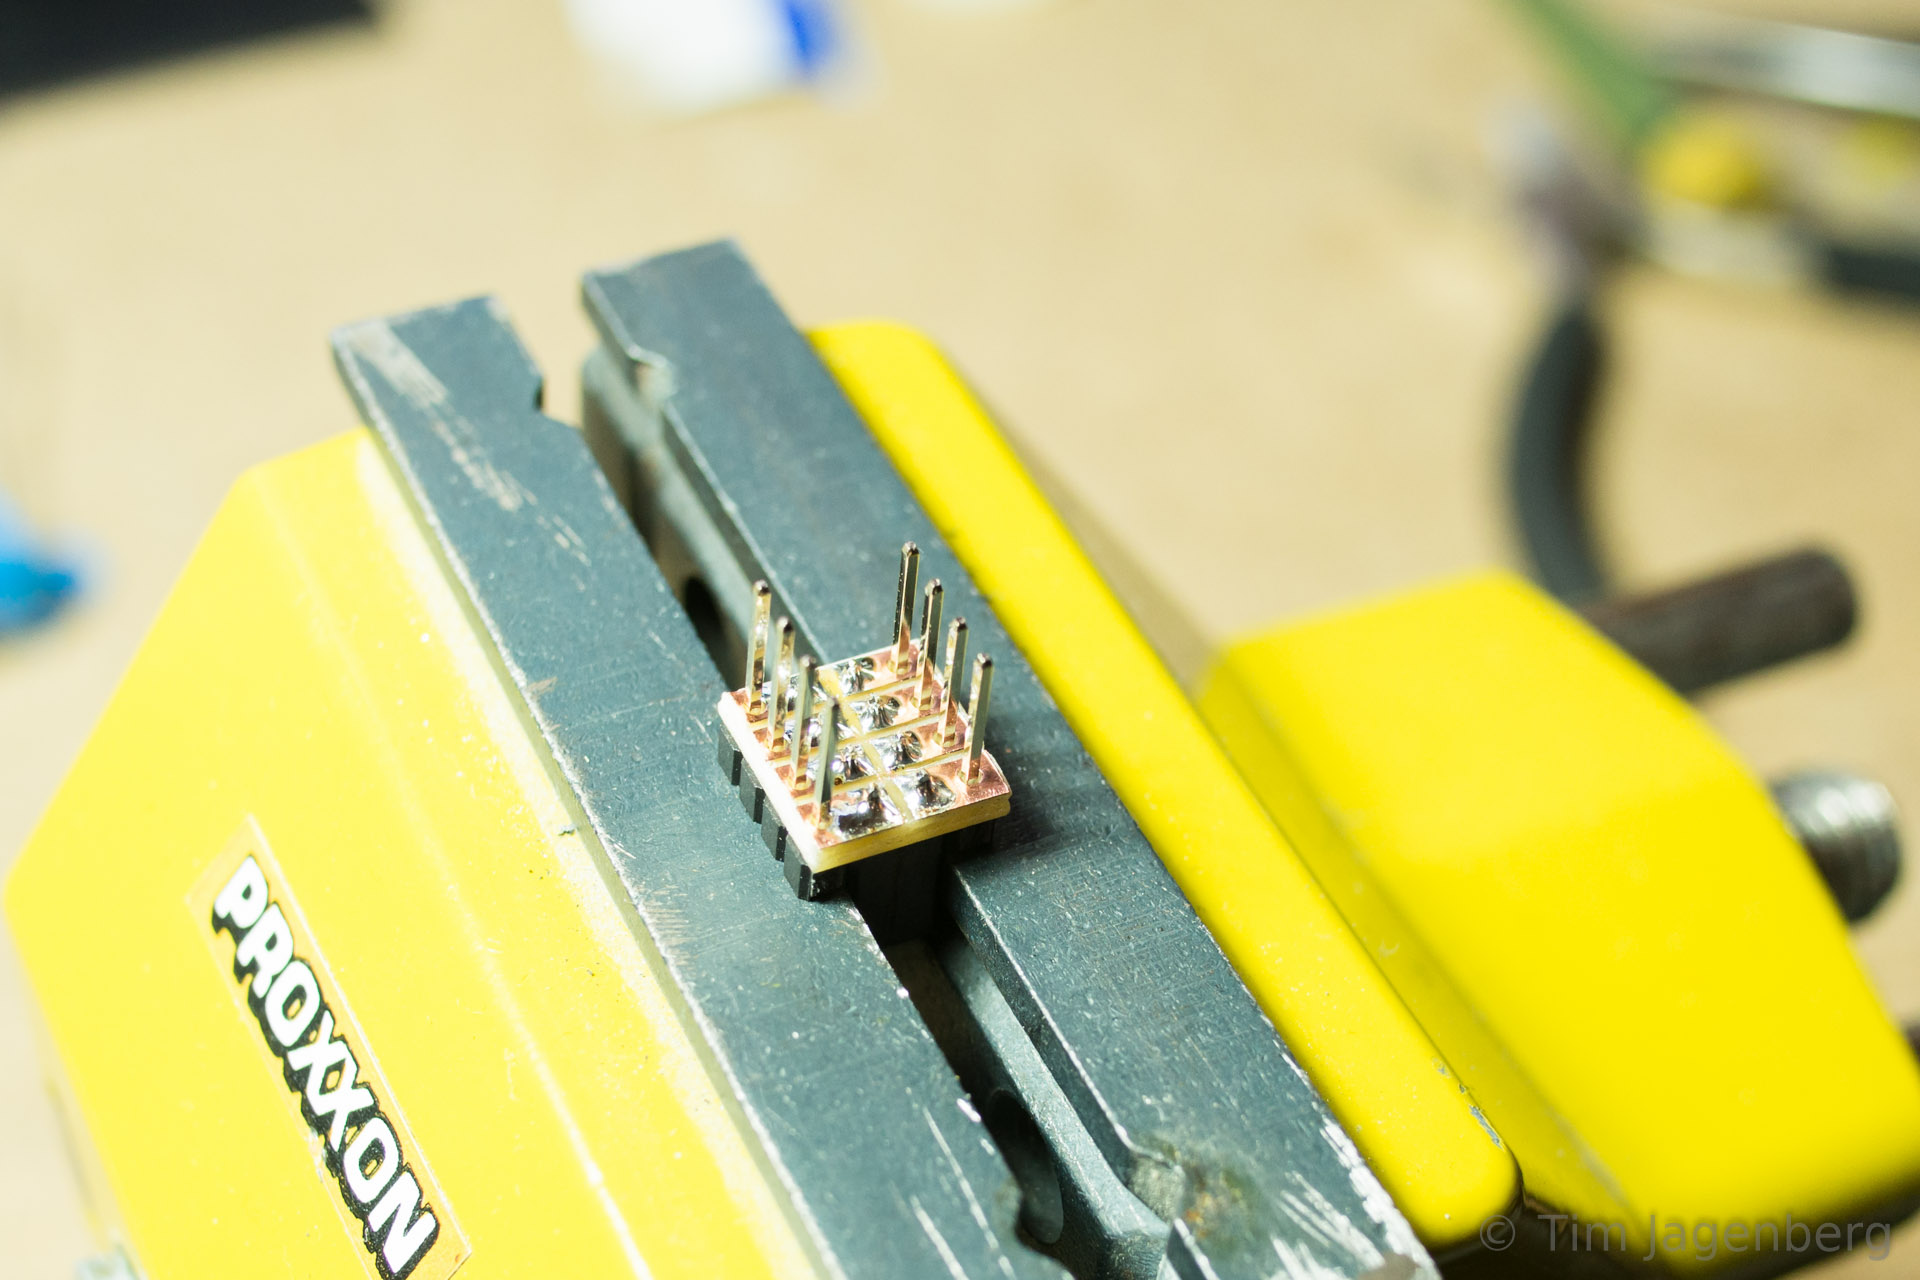
Since then, I’ve been working on my own implementation of the king of the hill idea based on an old ADJD-S311 Color Light Sensor Evaluation Board from Sparkfun which I still had lying around. Combined with an Pololu A-Star 32U4 Micro for the brains, a single button for input, and an LPD8806 based RGB-LED-strip from Adafruit for output, this made a pretty nice tinkering project.
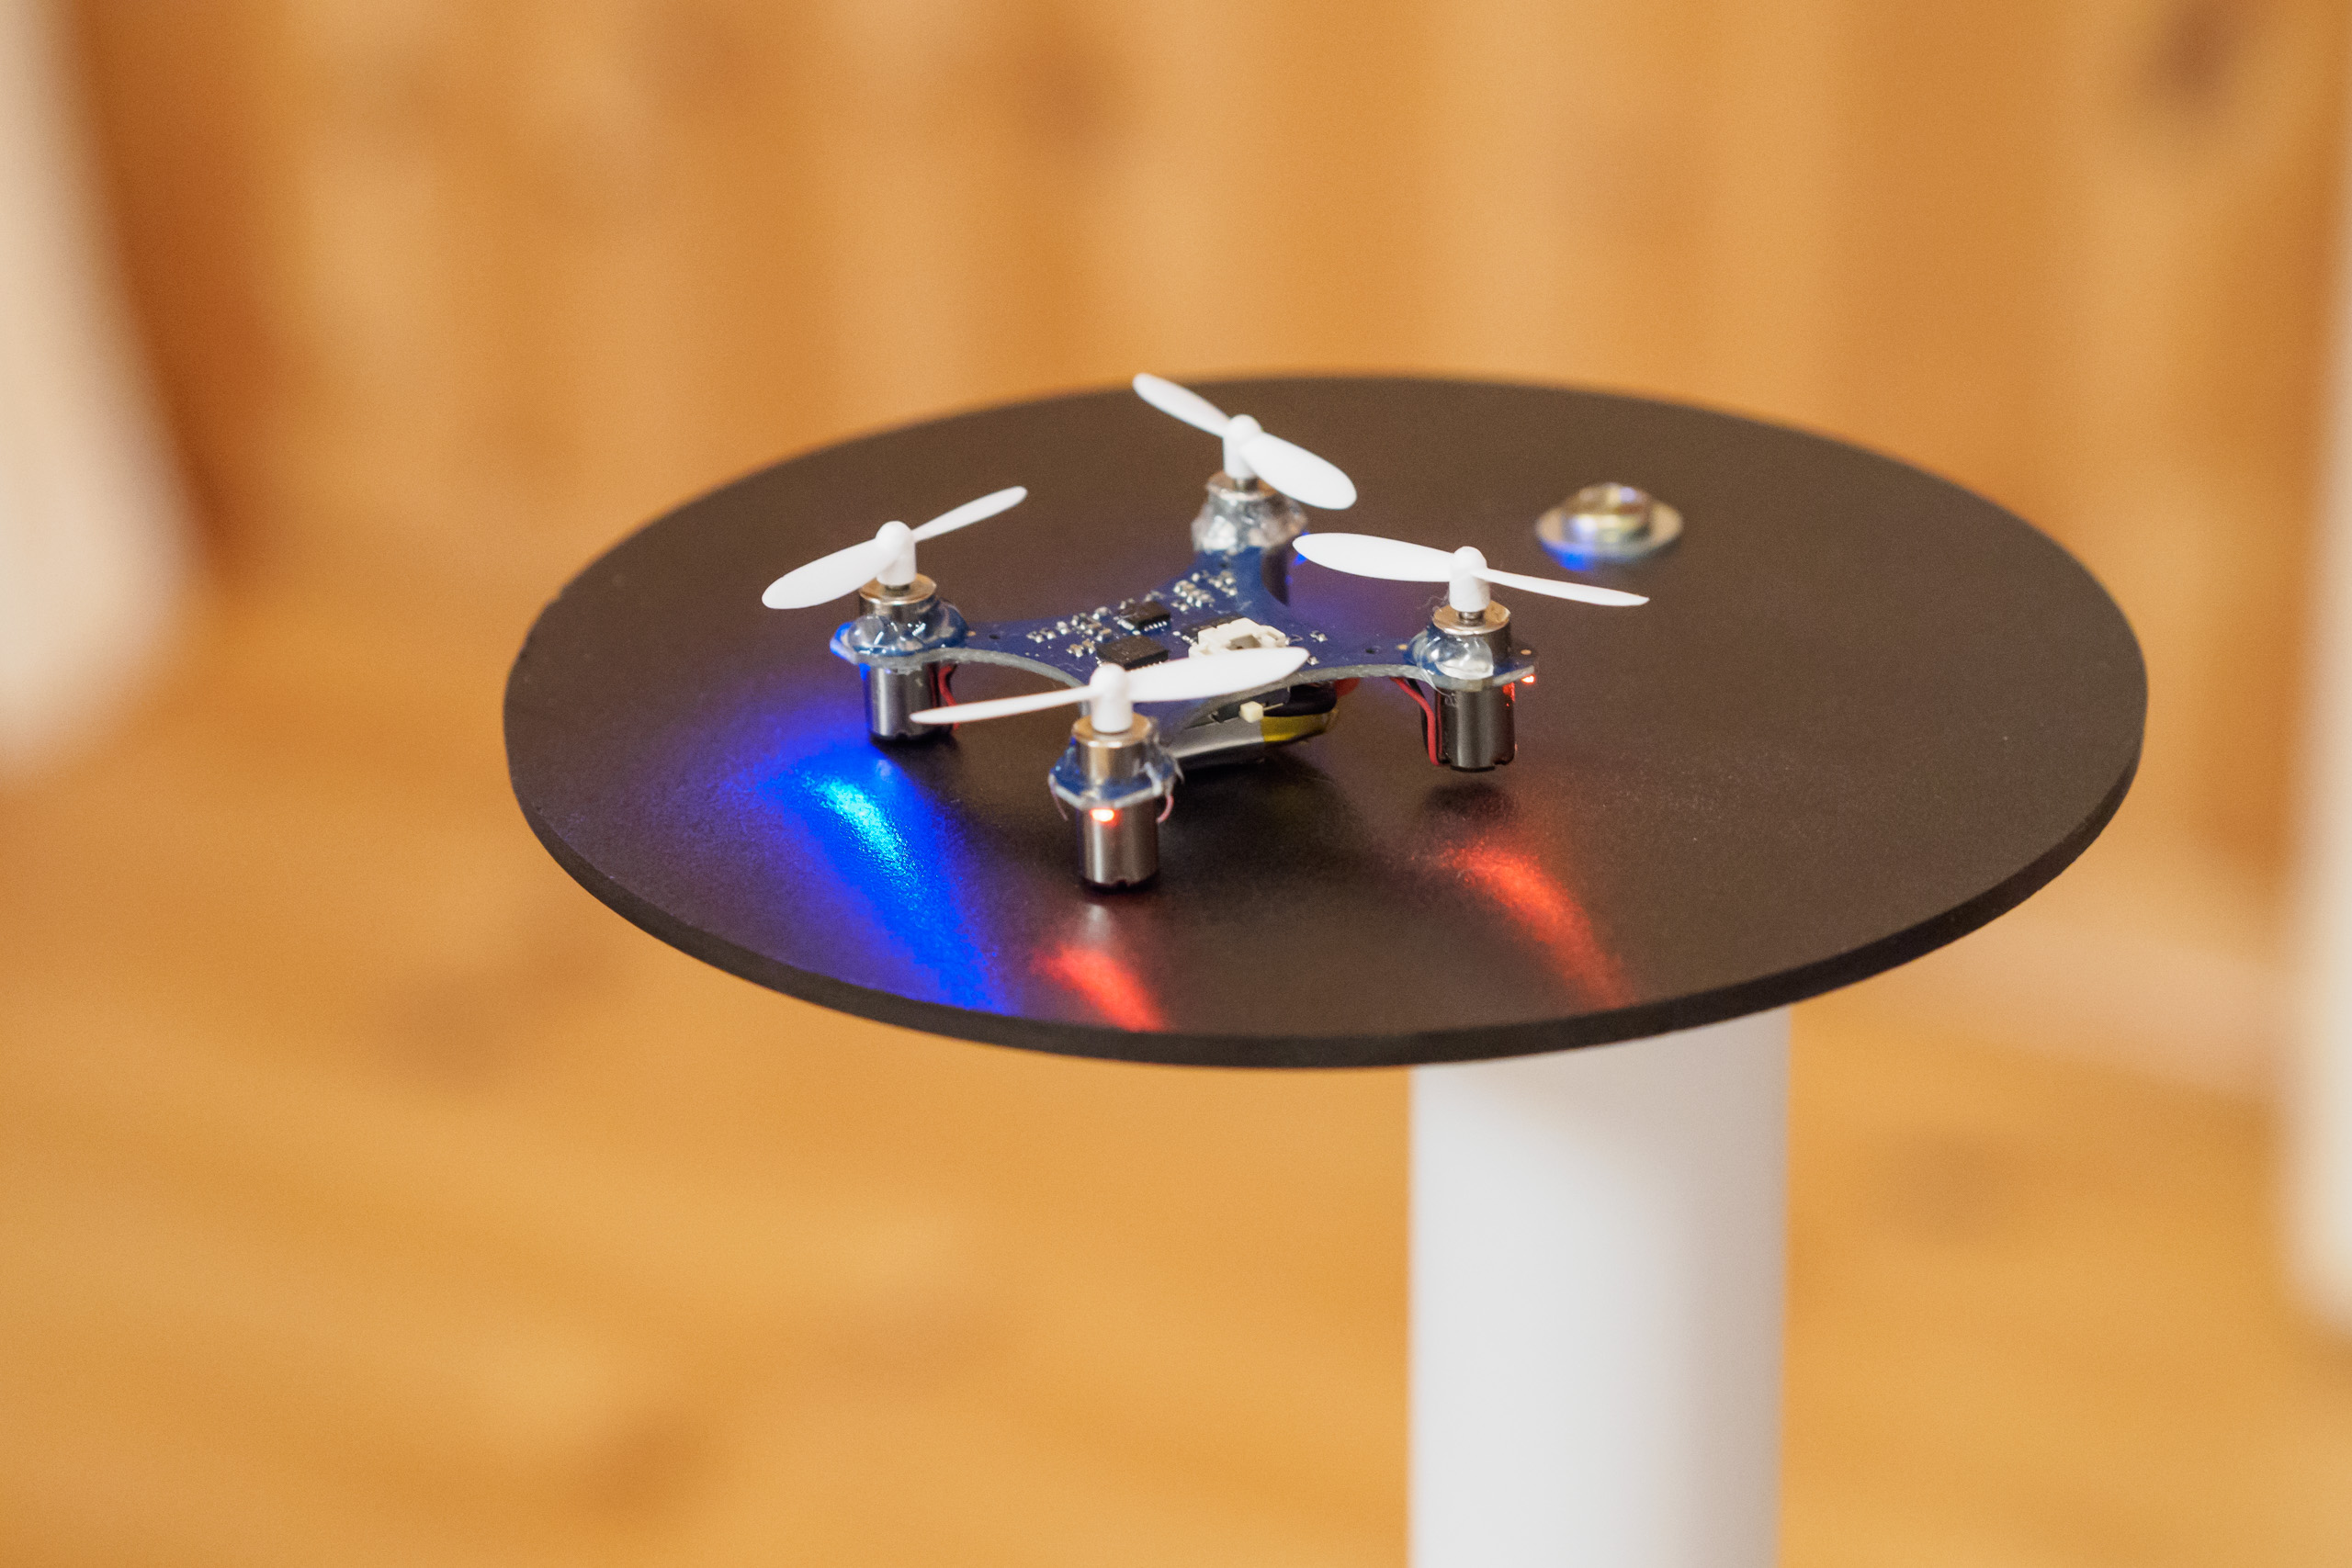
The micro quadcopters are split into 2 to 4 teams and are marked with differently coloured stickers at the bottom (red, green, blue, yellow).
The light sensor in the centre of the platform is initially passive and set to maximum sensitivity. In combination with ambient light, the A-Star Micro can detect whether the sensor is covered or not. As soon as it detects that the sensor is covered, it is set to active mode. It then evaluates reflected light using a white LED and a lower sensitivity setting. Based on the measured rgb-colour, ‘the brains’ decide which team the drone on the platform belongs to.
After a team covered the sensor for 3 seconds to win a point, the platform needs to be cleared for 5 seconds before another winning point can be gained.

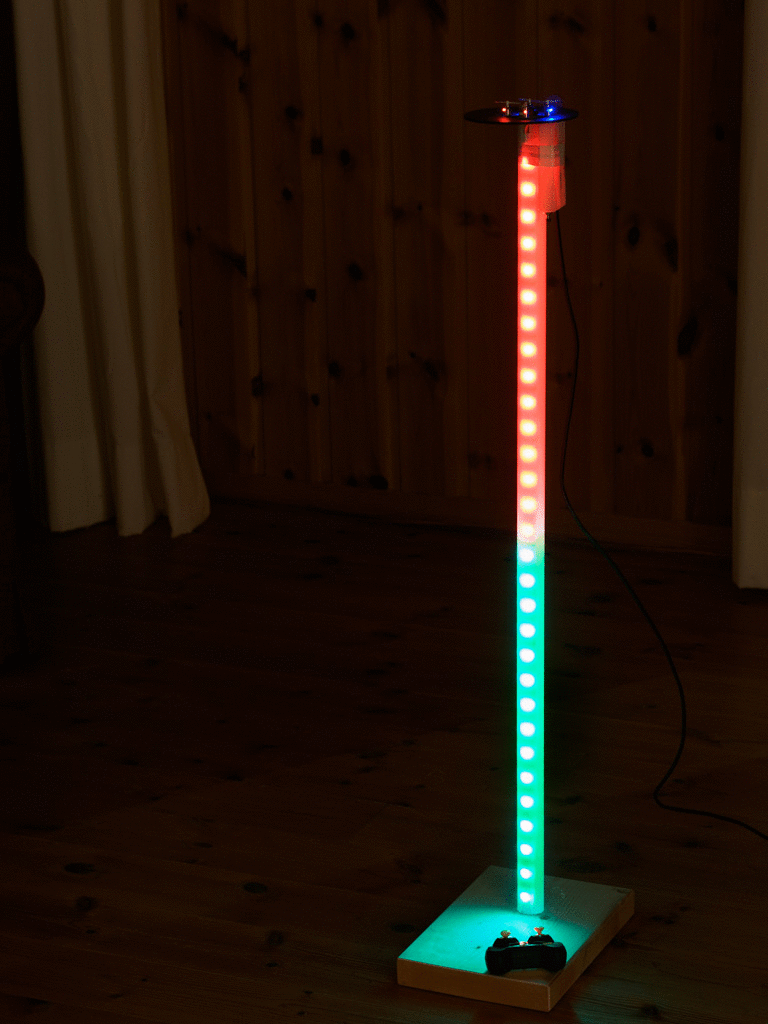
The game play is set-up using the single button. First the number of teams is shown using the LEDs in the vertical stand. Clicking the button iterates between 2, 3, or 4 teams with different colours. After a long-click, the number of winning points are selected. Again by clicking the button 1, 3, 5, or 7 winning points can be selected. The game starts after another long-click with the progress being displayed on the vertical bar. As only a single LED strip is used, additive colour mixing occurs between the teams. The game continues until one of the teams achieves the necessary number of points, upon which the winning team’s colour flashes along the bar in ‘knight rider’ fashion.
Some friends from FIX, the local maker space, and I ordered a whole bunch of Eachine H8 Mini drones. Now we’re looking forward to some awesome team matches the space 🙂
The CAD models can be found at Onshape, a really interesting web-based CAD solution done by veterans of Solidworks. (log-in and search for ‘Drone King of the Hill’, couldn’t find a public link … still beta 😉 )
The source code can be found on GitHub and relies on the awesome cross-platform code builder and library manager PlatformIO.